
Creating an Ad Campaign That Stands Out
Fabio Wehner, a student at Hochschule Kaiserslautern, creates a captivating ad campaign, and shares his workflow for inspiration on your next creative endeavour.
Fabio Wehner, a student at Hochschule Kaiserslautern, creates a captivating ad campaign, and shares his workflow for inspiration on your next creative endeavour.

Fabio Wehner, a student at Hochschule Kaiserslautern, aspires to work on high end motion graphics or in the VFX industry. His recent project, a creative ad campaign, caught our eye, and we asked him to share his workflow in hopes that it would inspire you, the reader, to take on your next creative project!
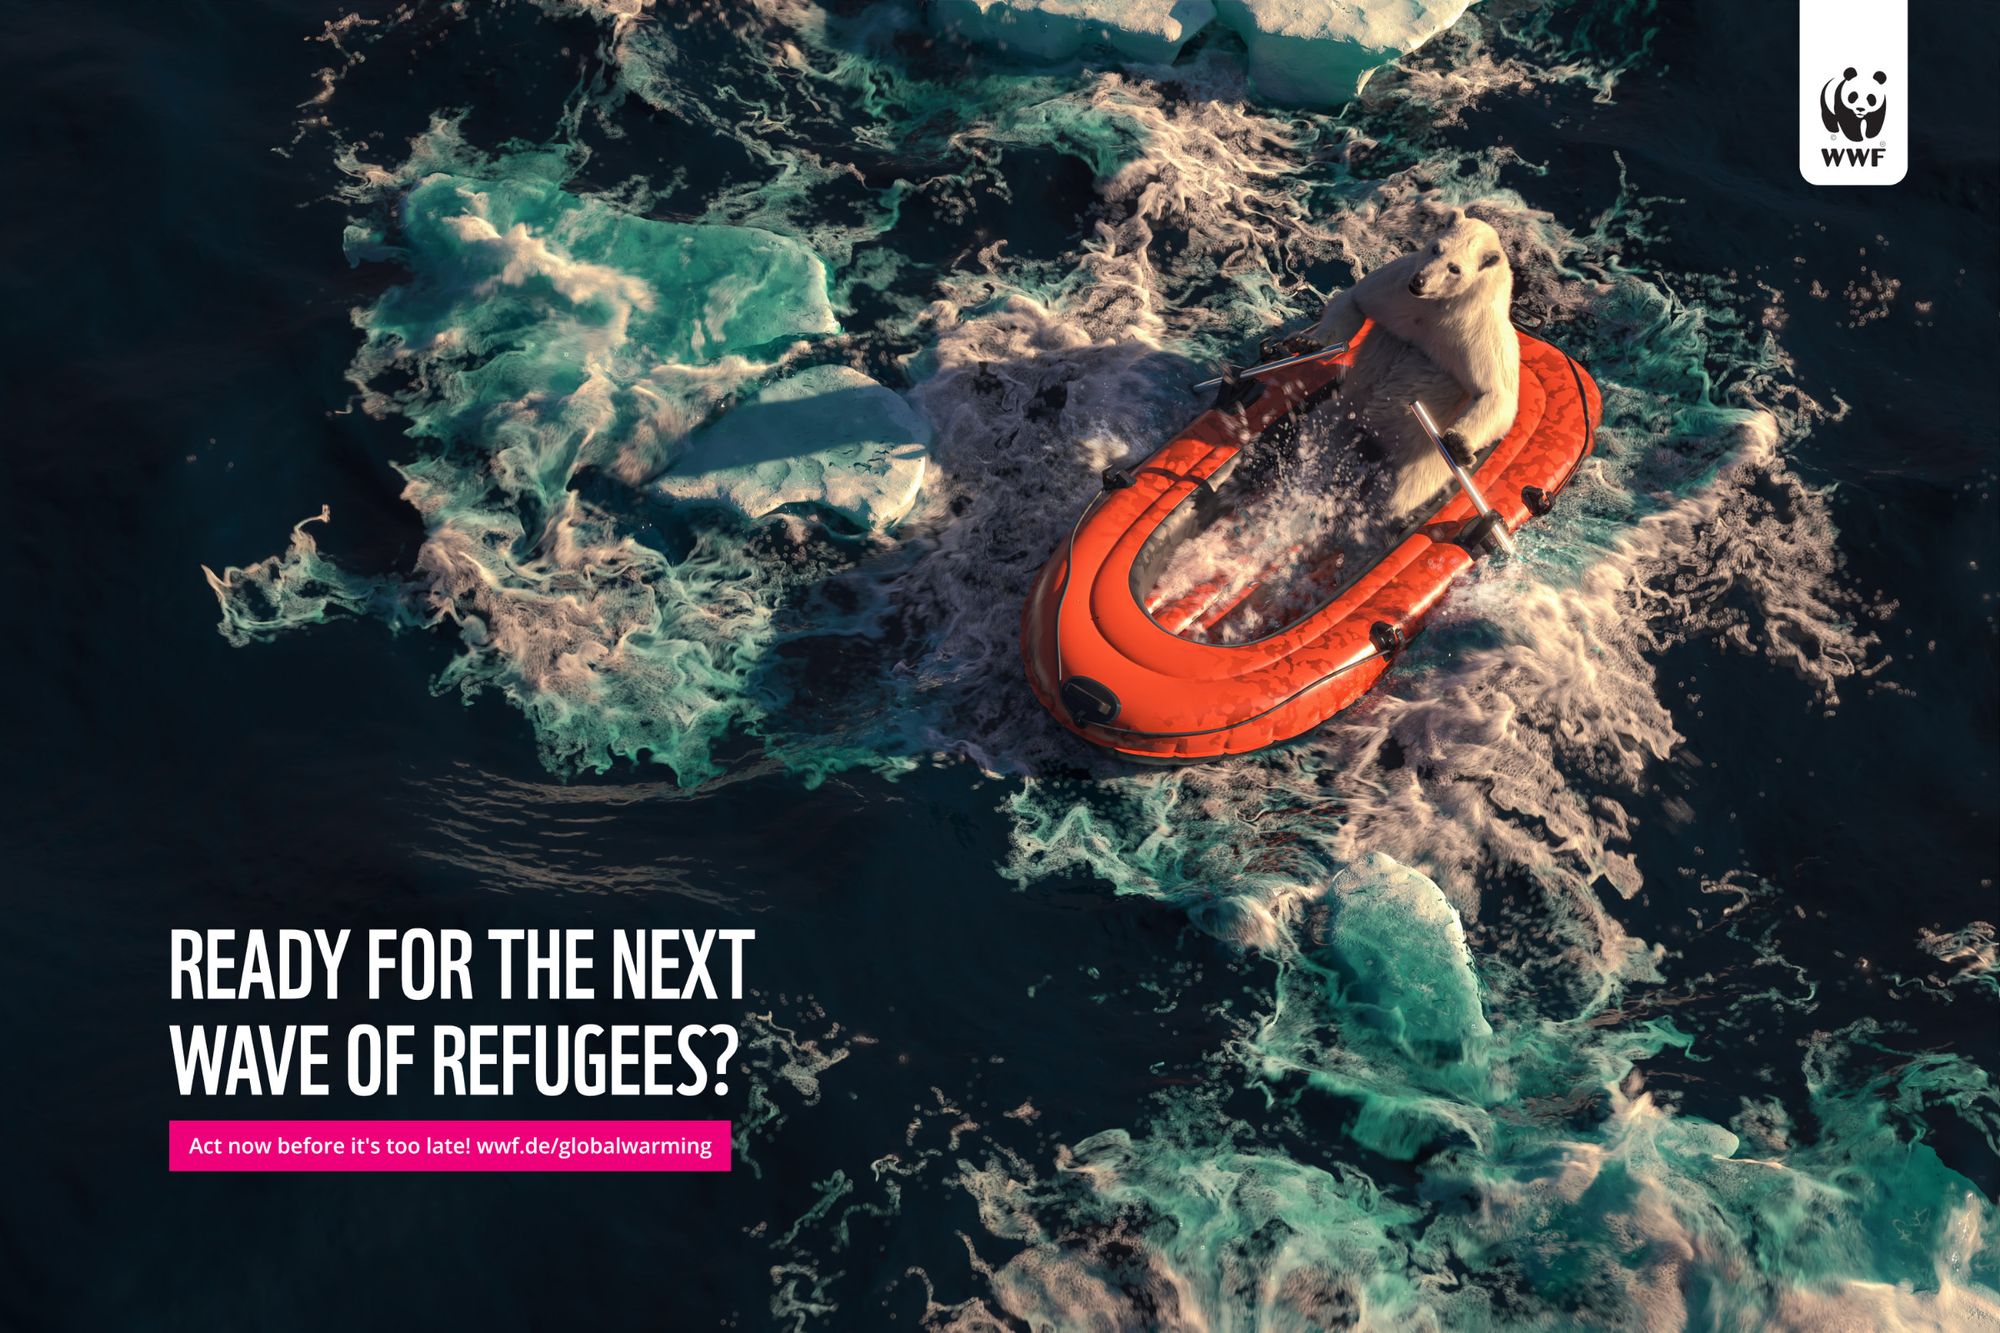
Hi everyone, I'm going take you on a journey through my creative process on one of my last projects for university. The aim of this project was to create an ad campaign with a message. So I decided to look at climate change campaigns from a slightly different angle.

How do you approach a topic that has been explored countless times before? You need a unique angle. But how do you discover a fresh idea—one that truly resonates with you and offers a new perspective? Start by reflecting on what aspects of existing work leave you unsatisfied and what elements captivate you. Study other pieces on the same subject, extracting elements that ignite your imagination. Ideally, familiarise yourself with the existing body of work on the subject and strive to produce something unconventional—something that doesn't feel like a repetition of what's come before.

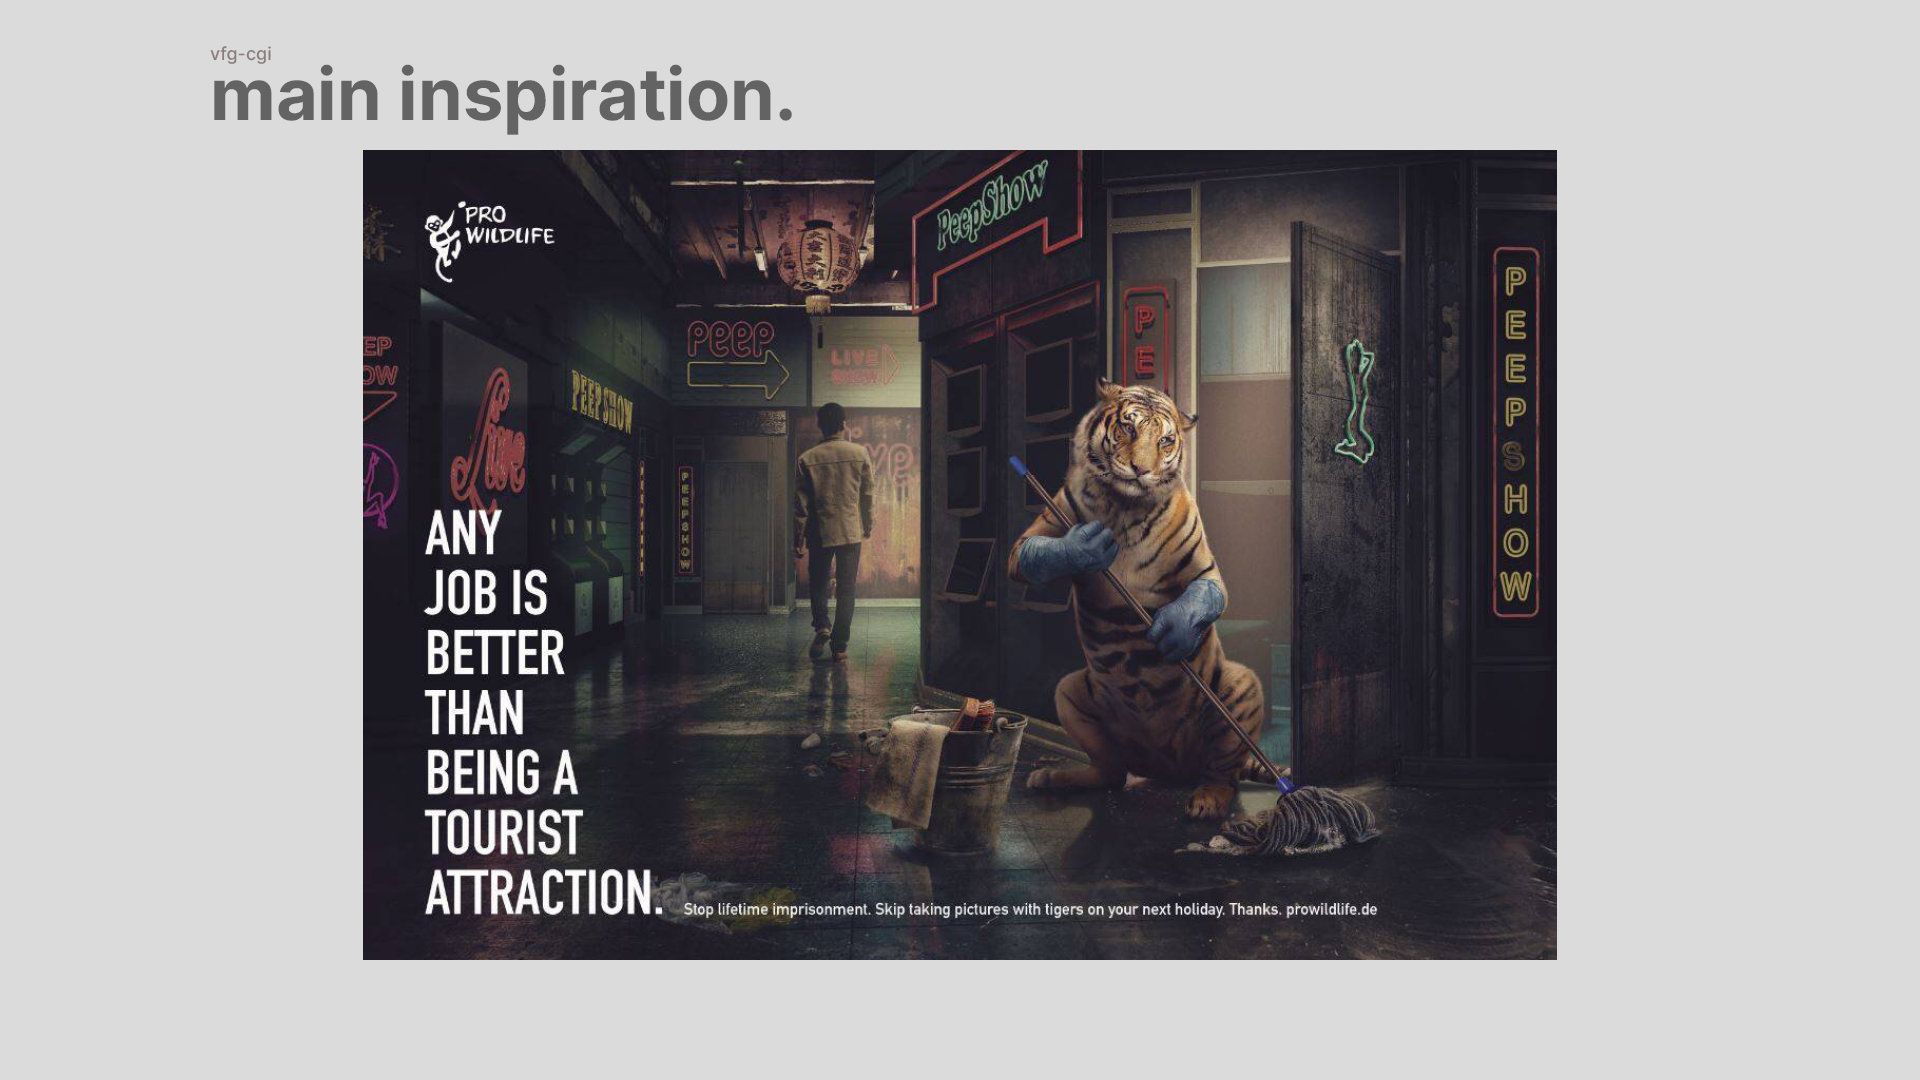
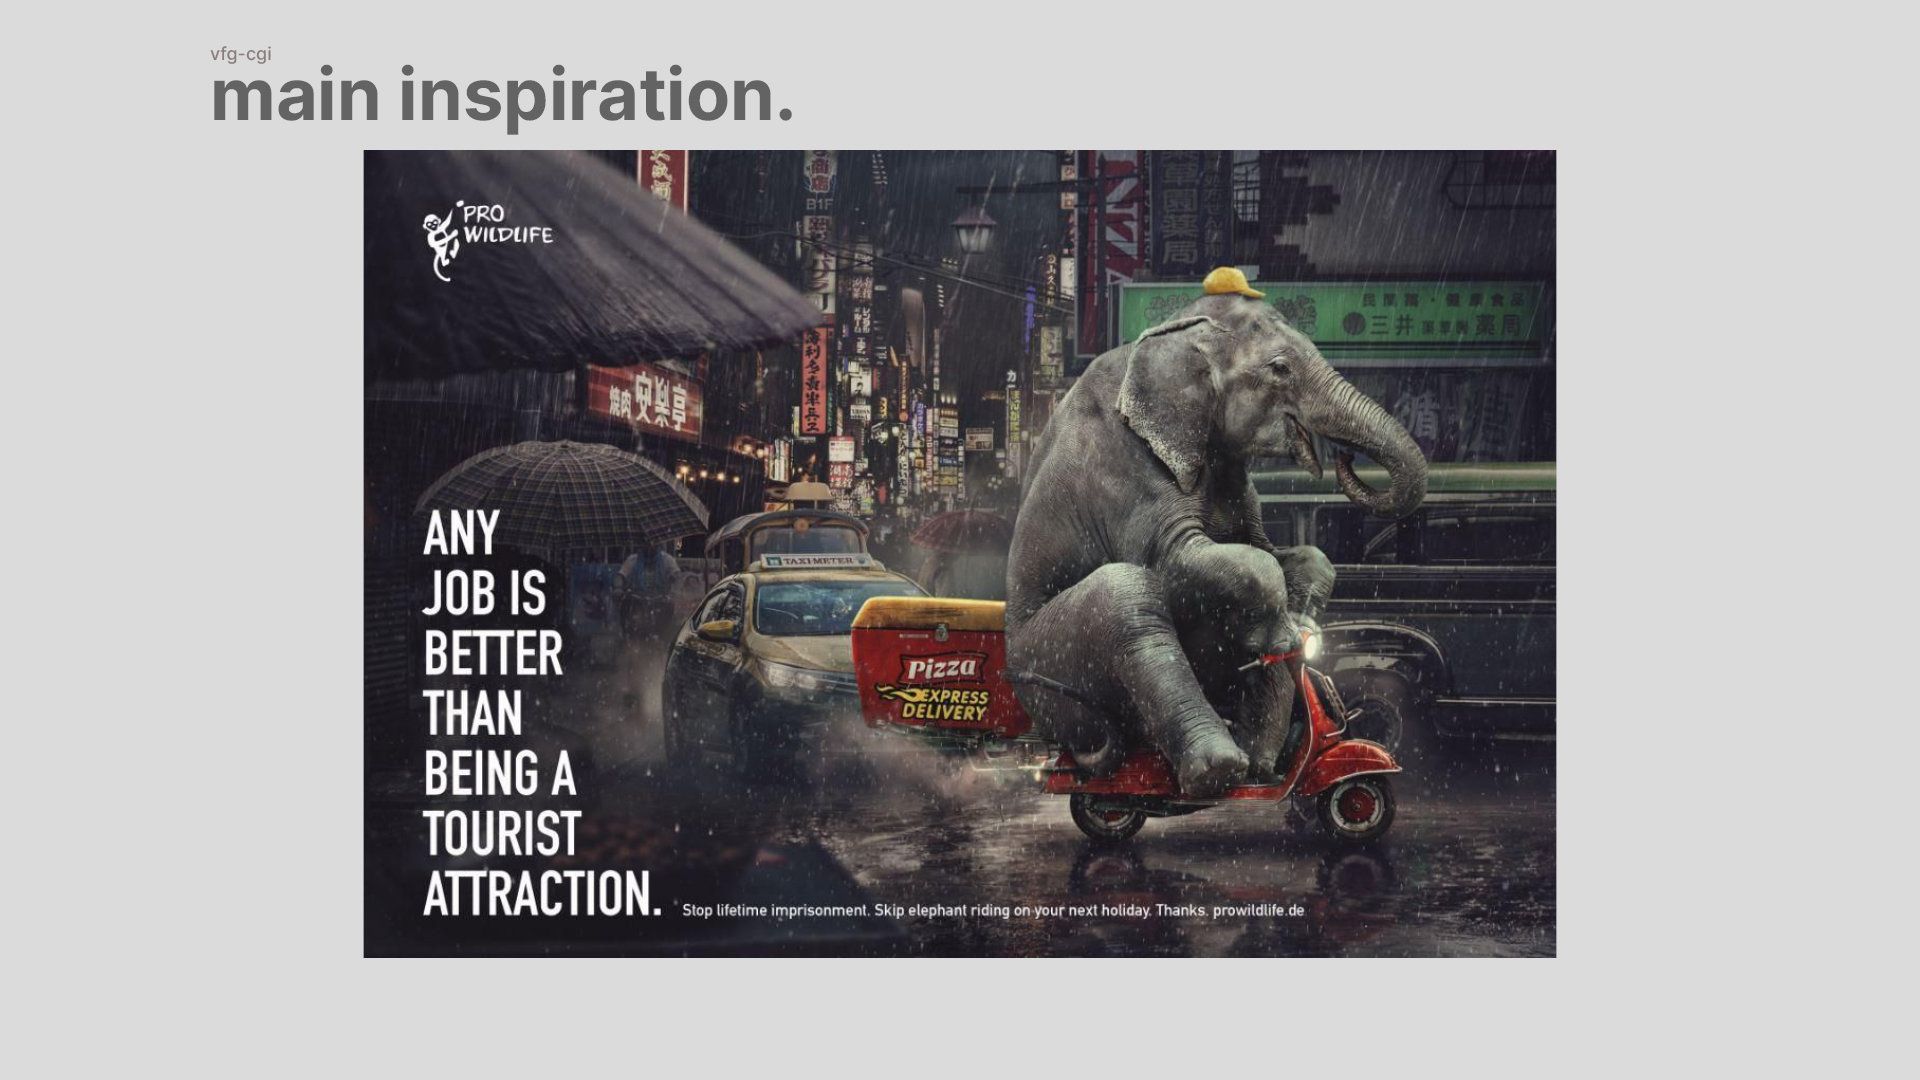
The first step is to seek out inspiration, as I have just mentioned. In my case it was the following works. I especially liked the humanisation of the animals, because the viewer can better put himself in their position.
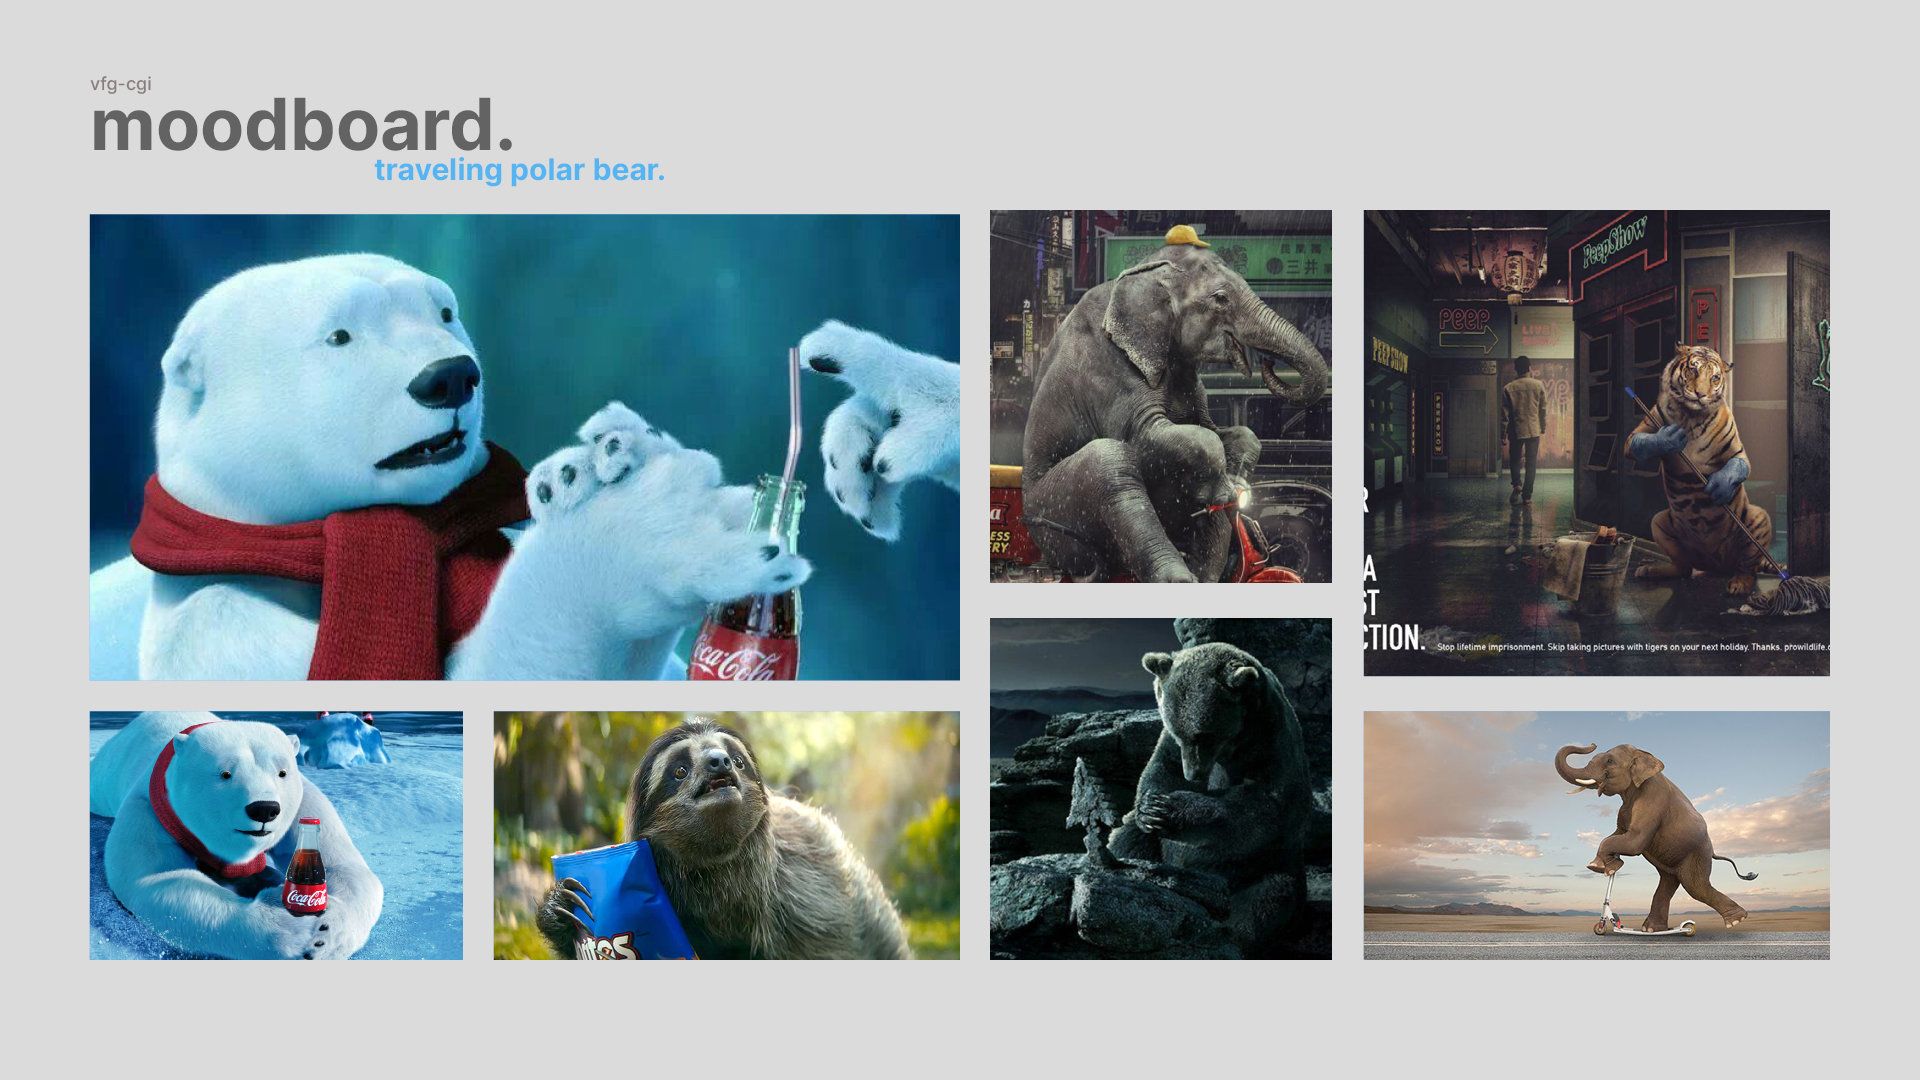
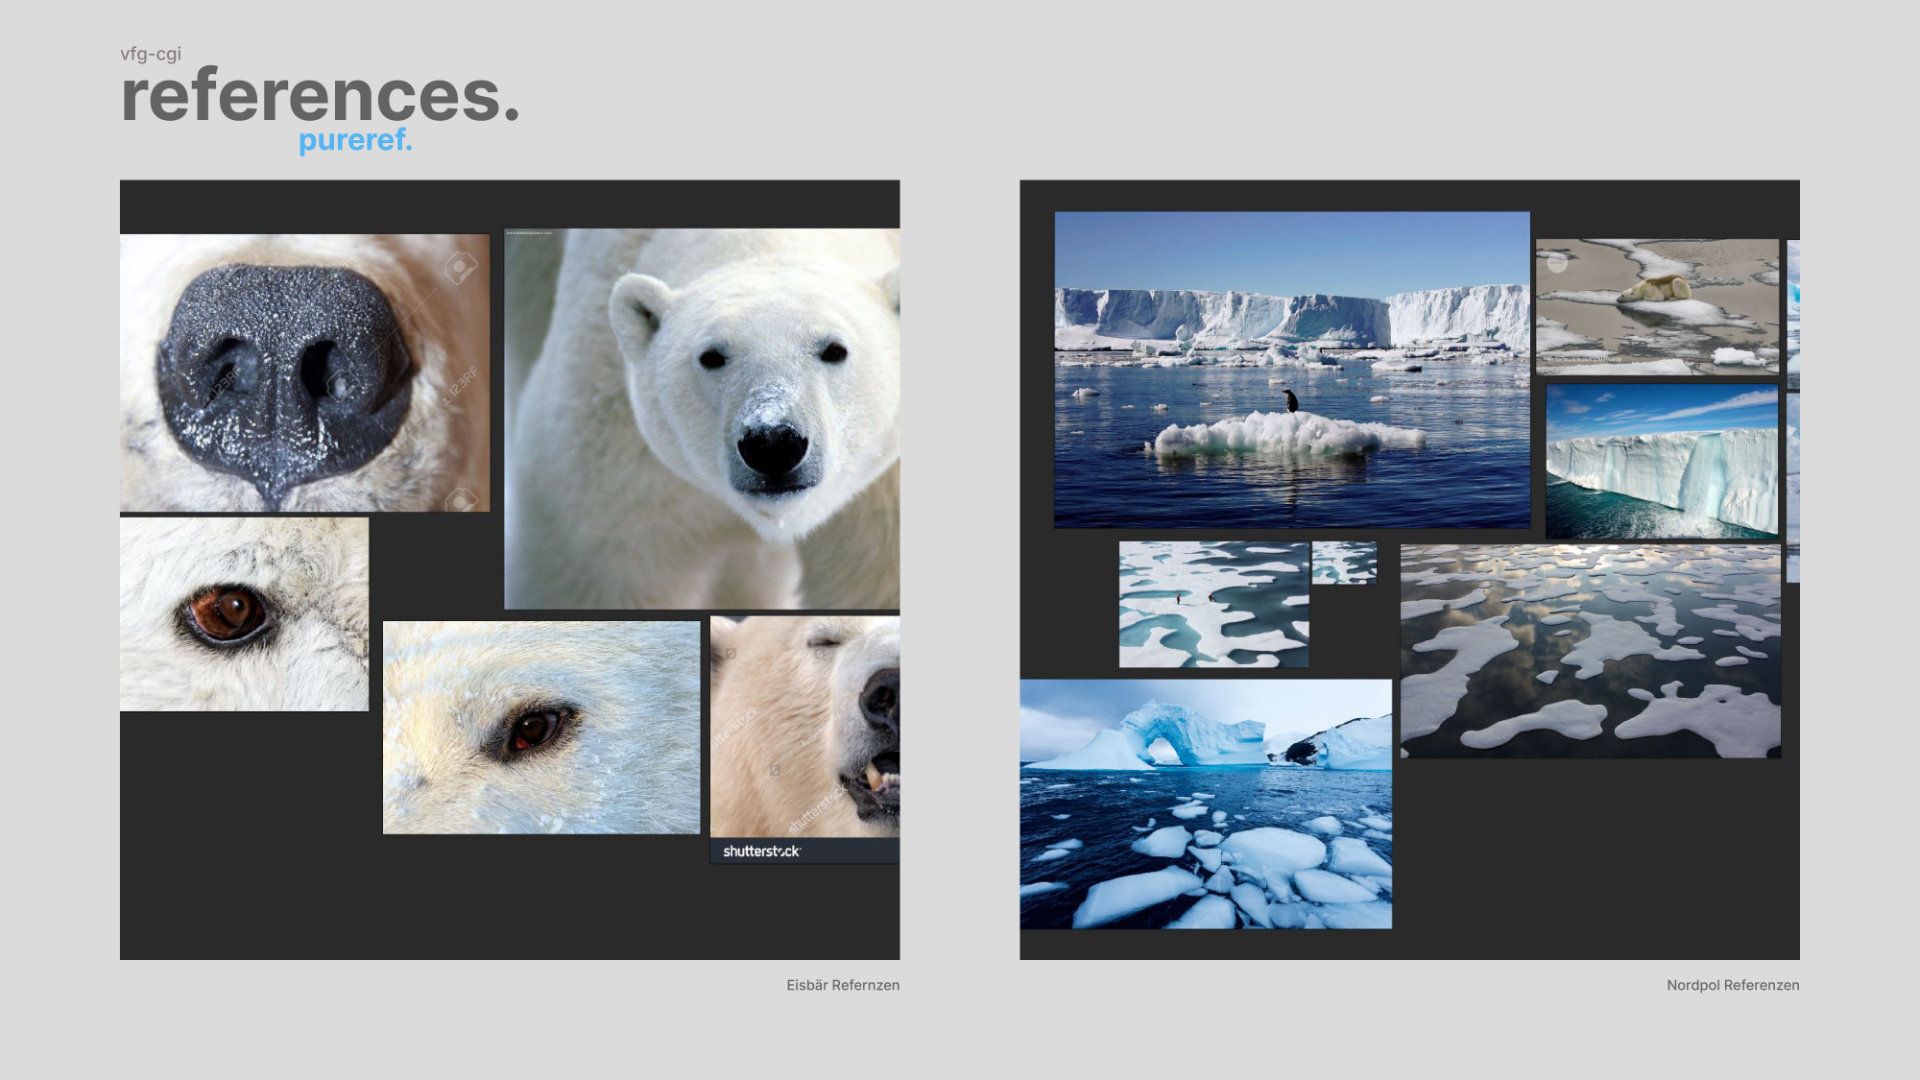
The next step is to develop your own concept, perhaps by creating a storyboard. As usual, it's essential to compile a mood board, gathering references for elements such as lighting, overall atmosphere, anatomy, intricate details, or specific objects.
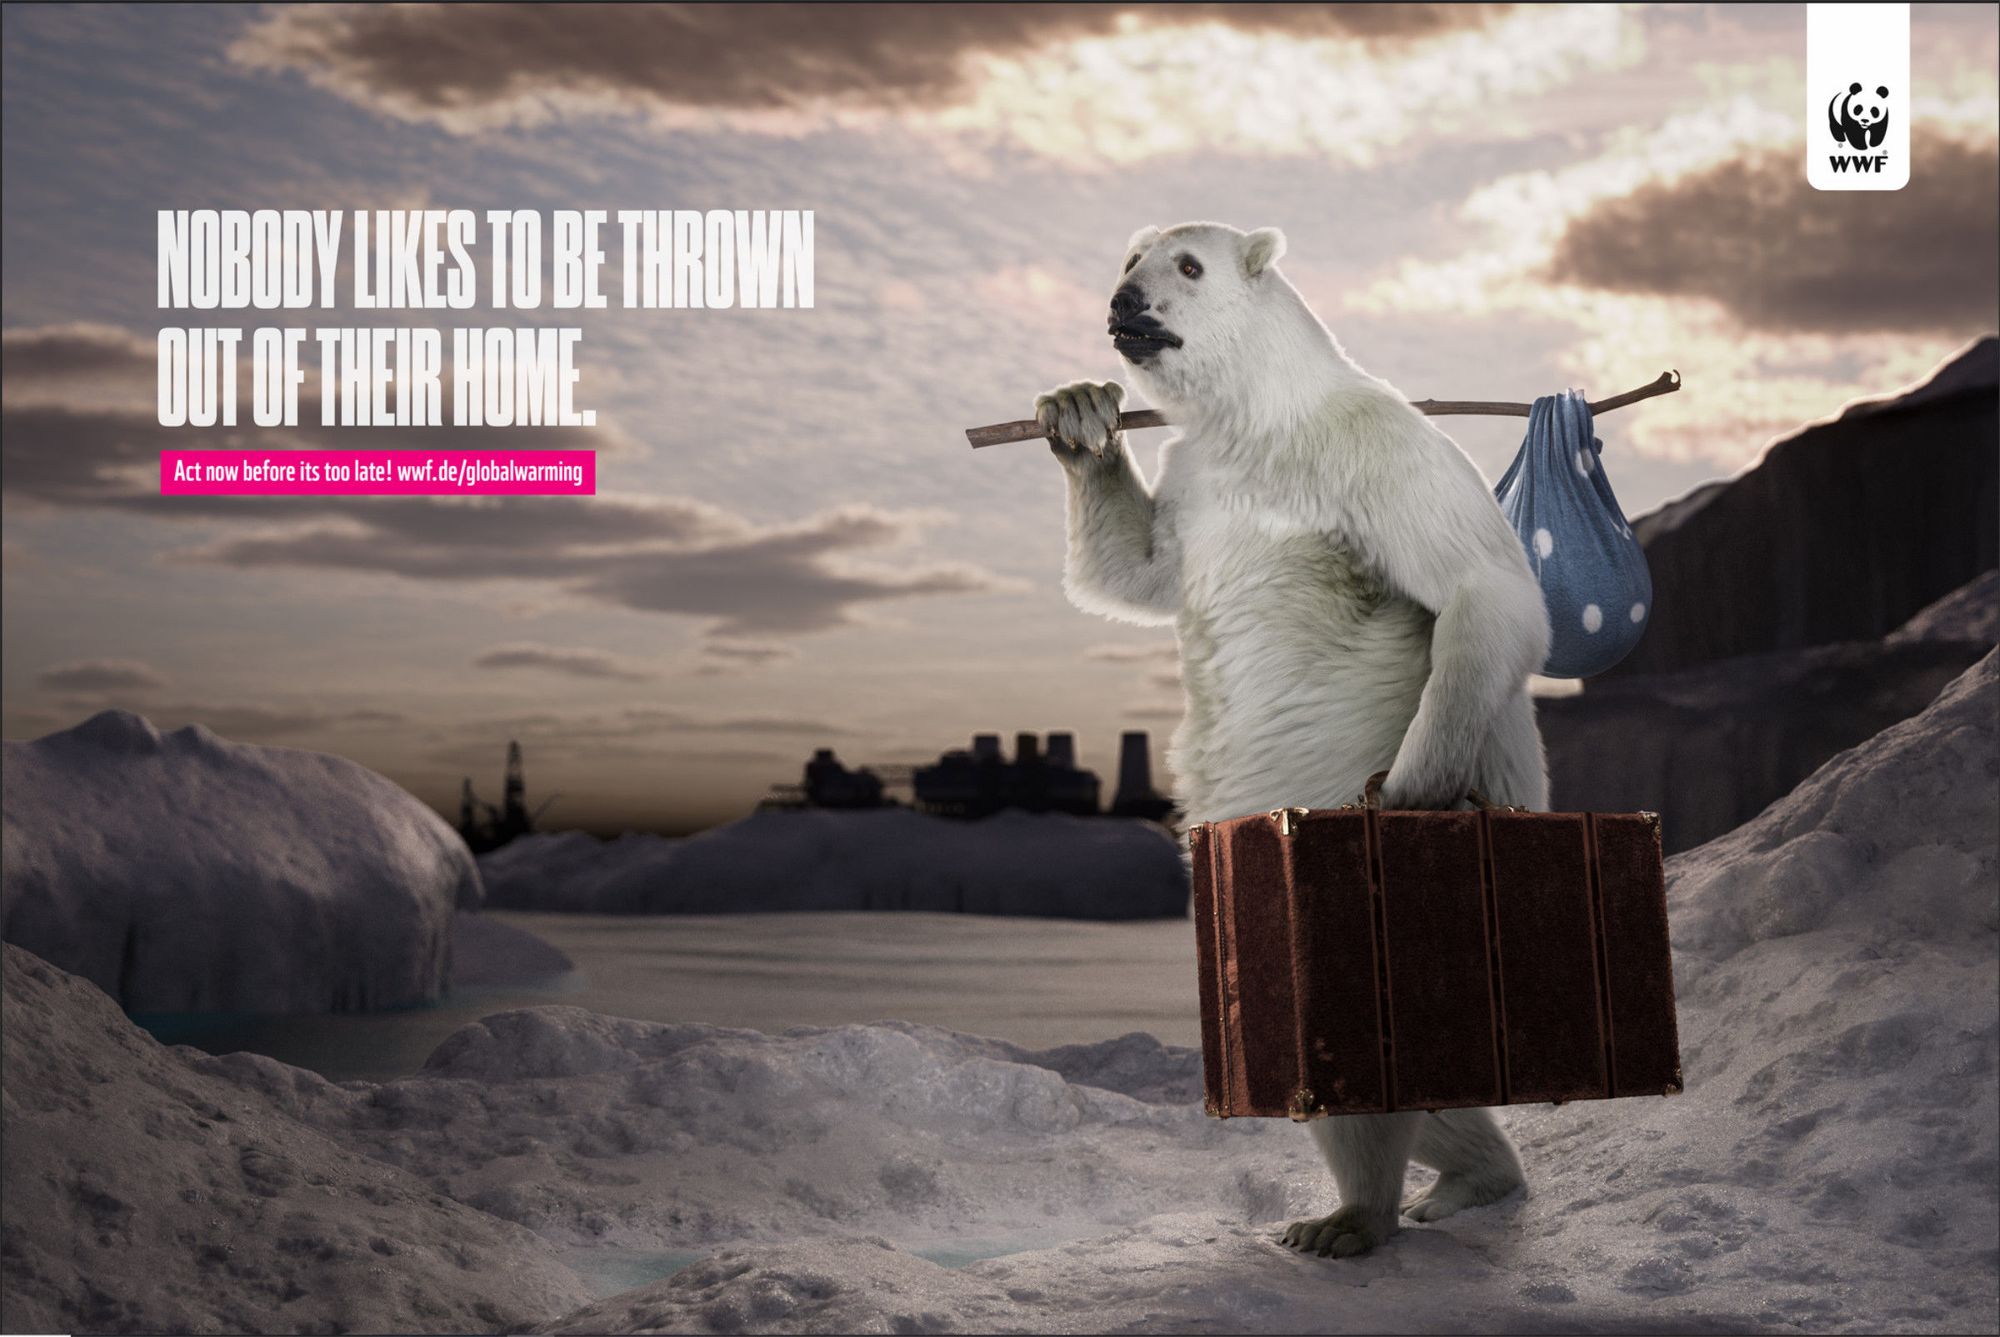
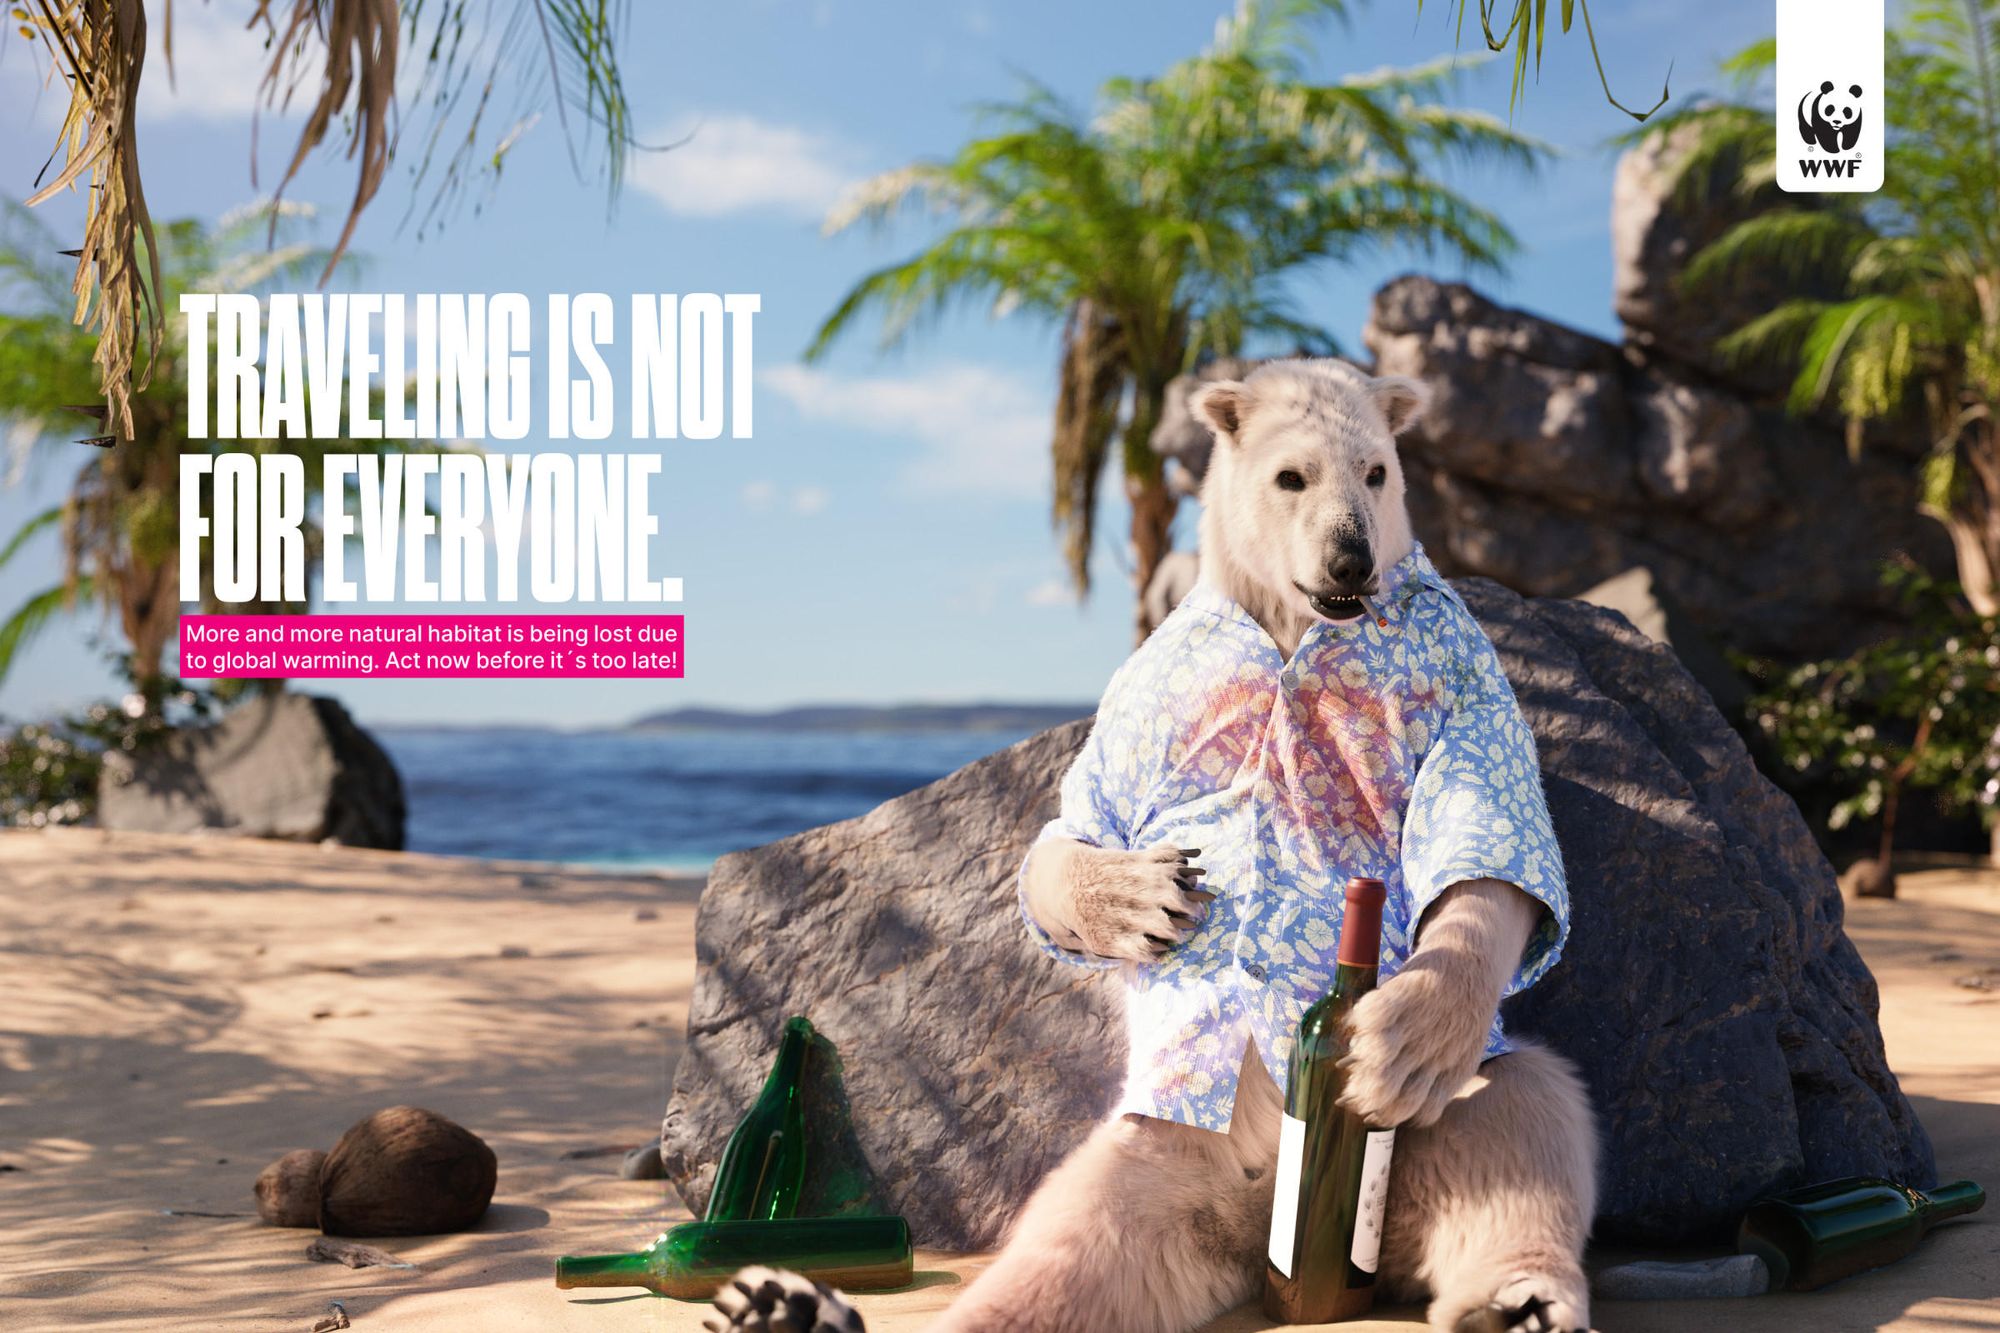
In our case, we opted for a group project, where each member was tasked with illustrating a scene. Our goal was to depict the theme of climate change in three images, narrating a brief story.
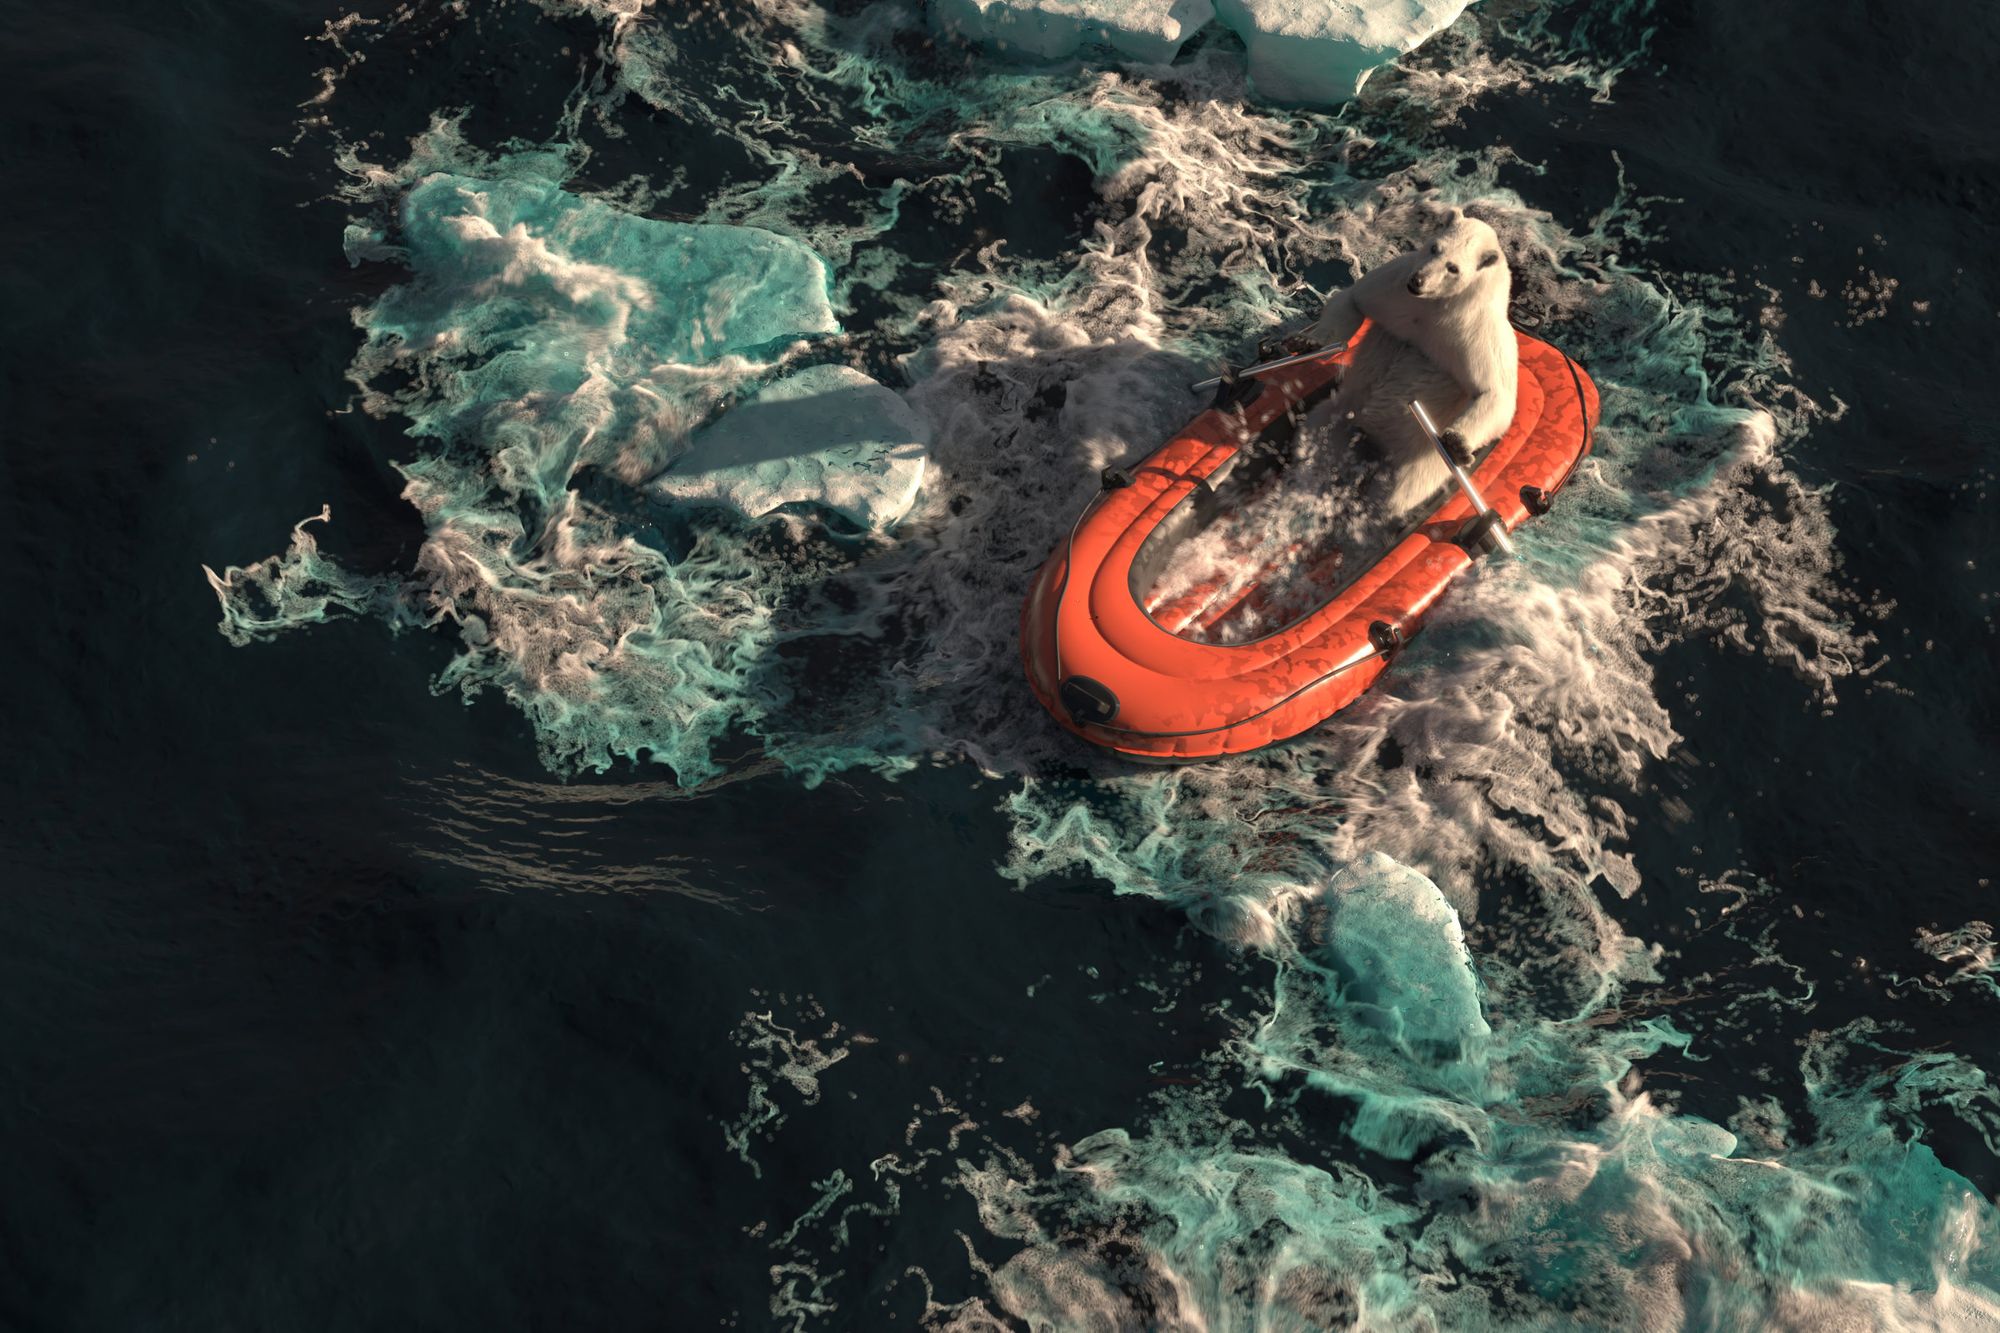
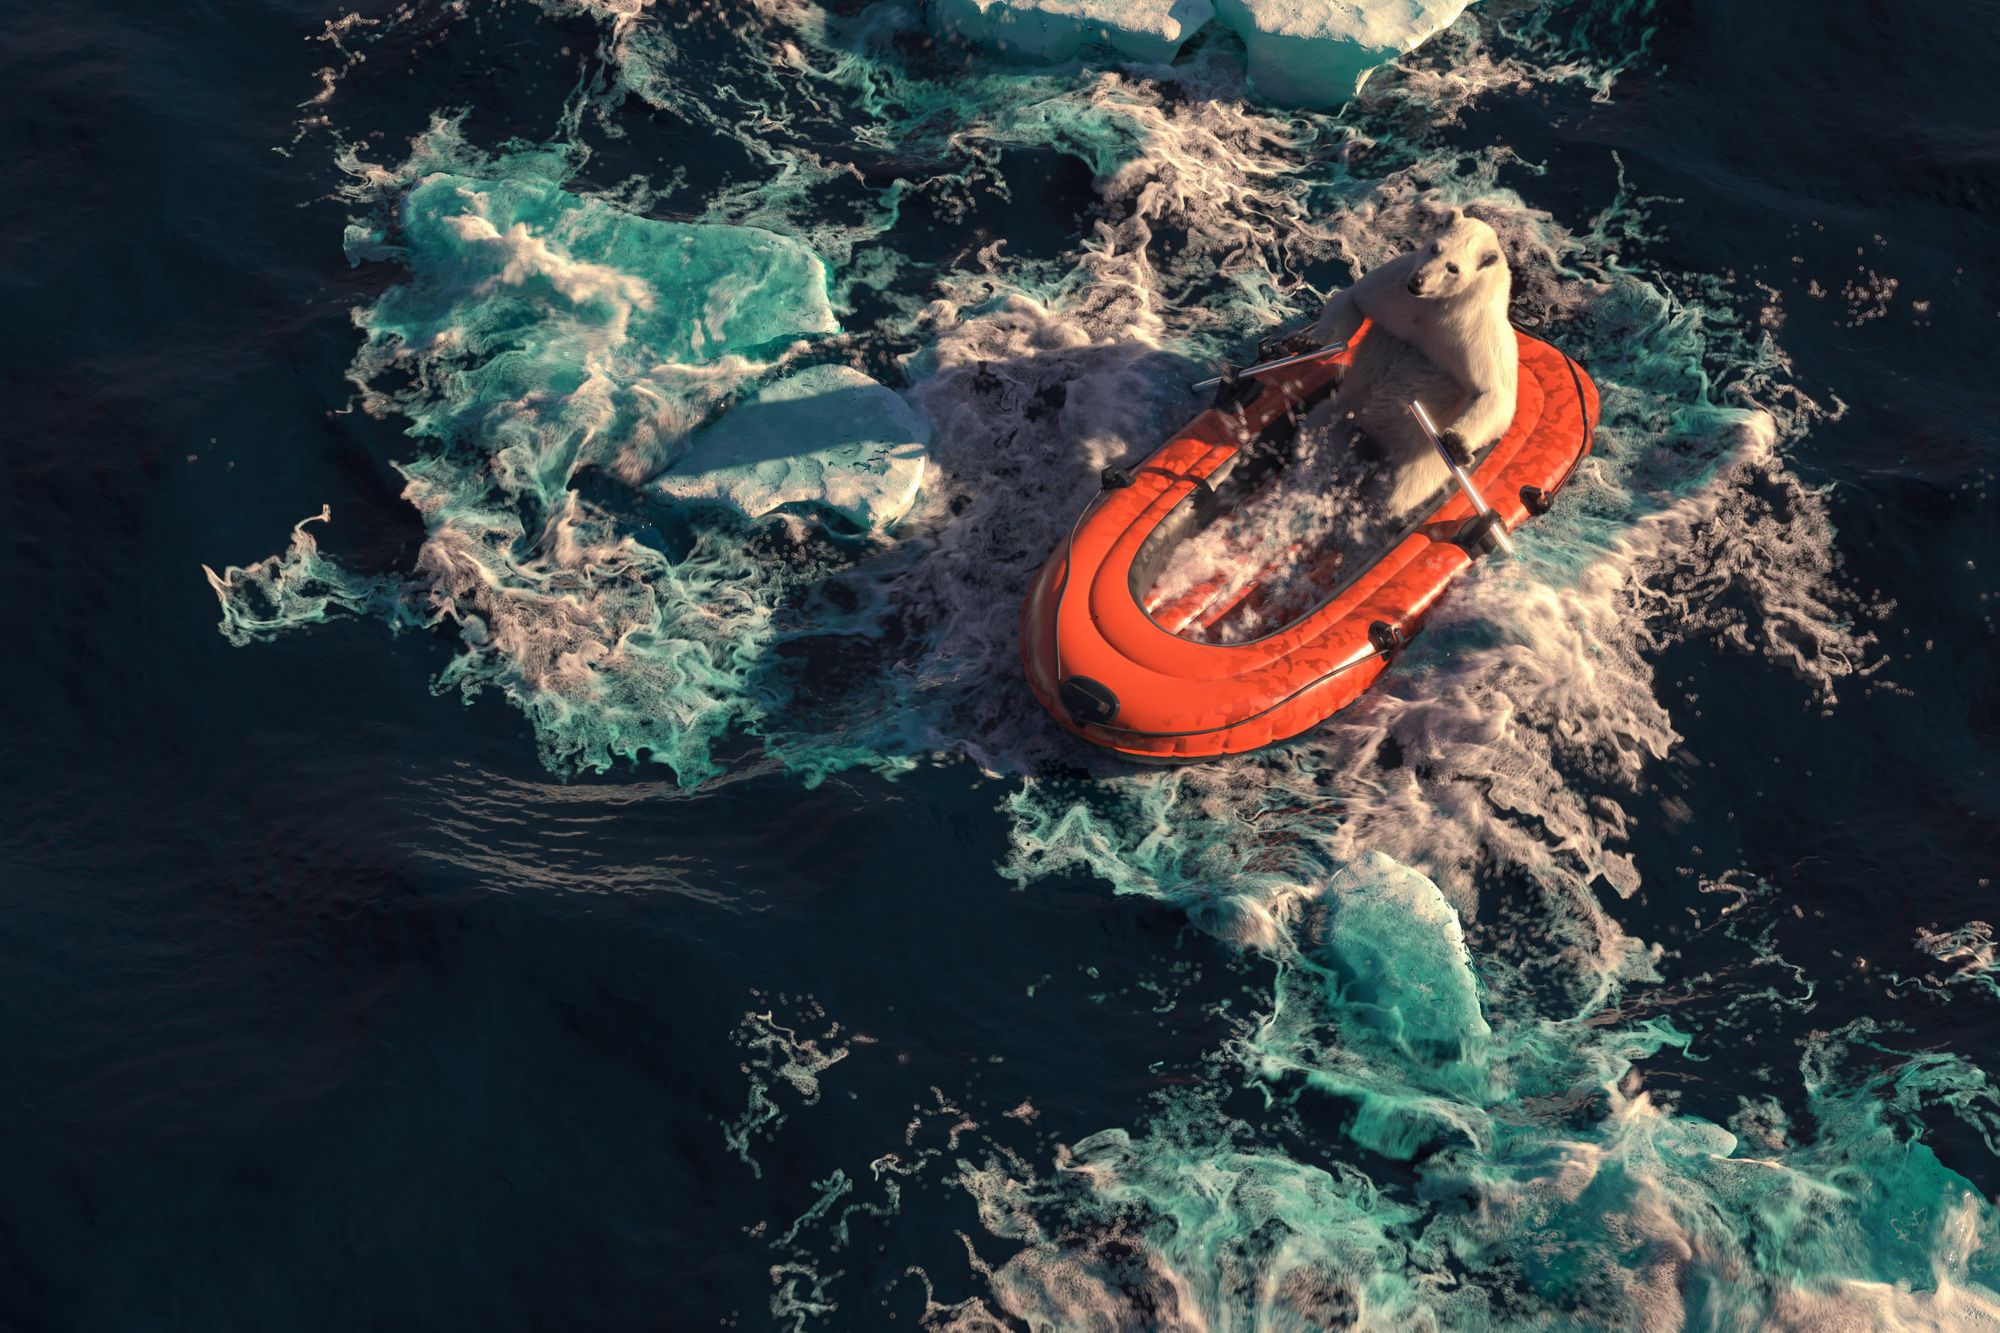
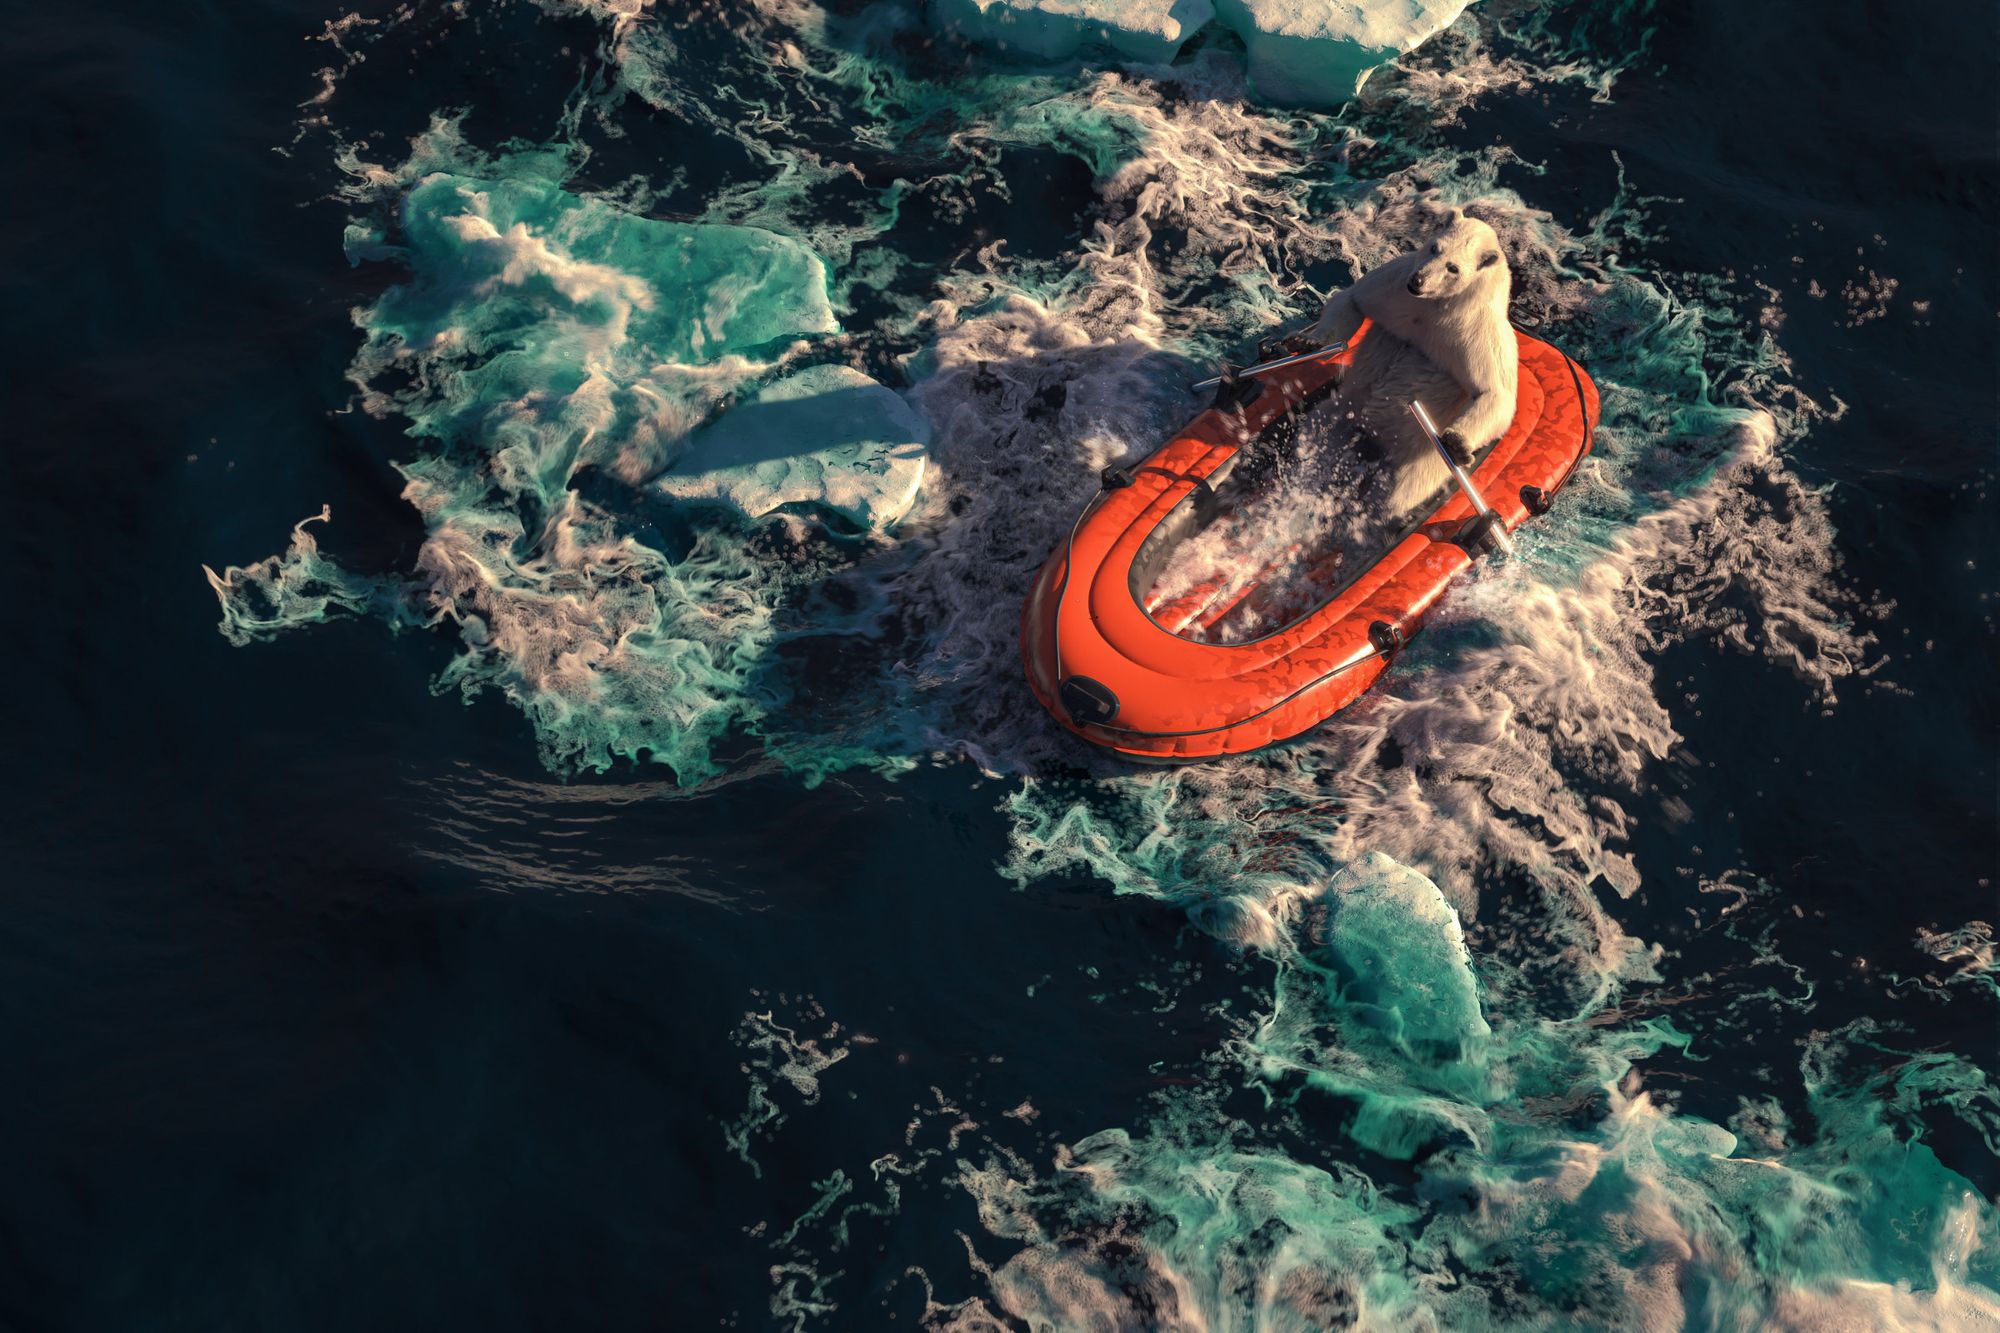
The first scene depicted a polar bear still residing in the North Pole but compelled to migrate due to encroaching industrialisation. The second scene, my contribution, portrayed the polar bear embarking on its journey to find a new home, hinting that it might not be the last in need of relocation. Finally, the last scene, the polar bear finds itself on a Caribbean island but realizes, amid a hangover, that this new habitat may not be suitable for him after all.
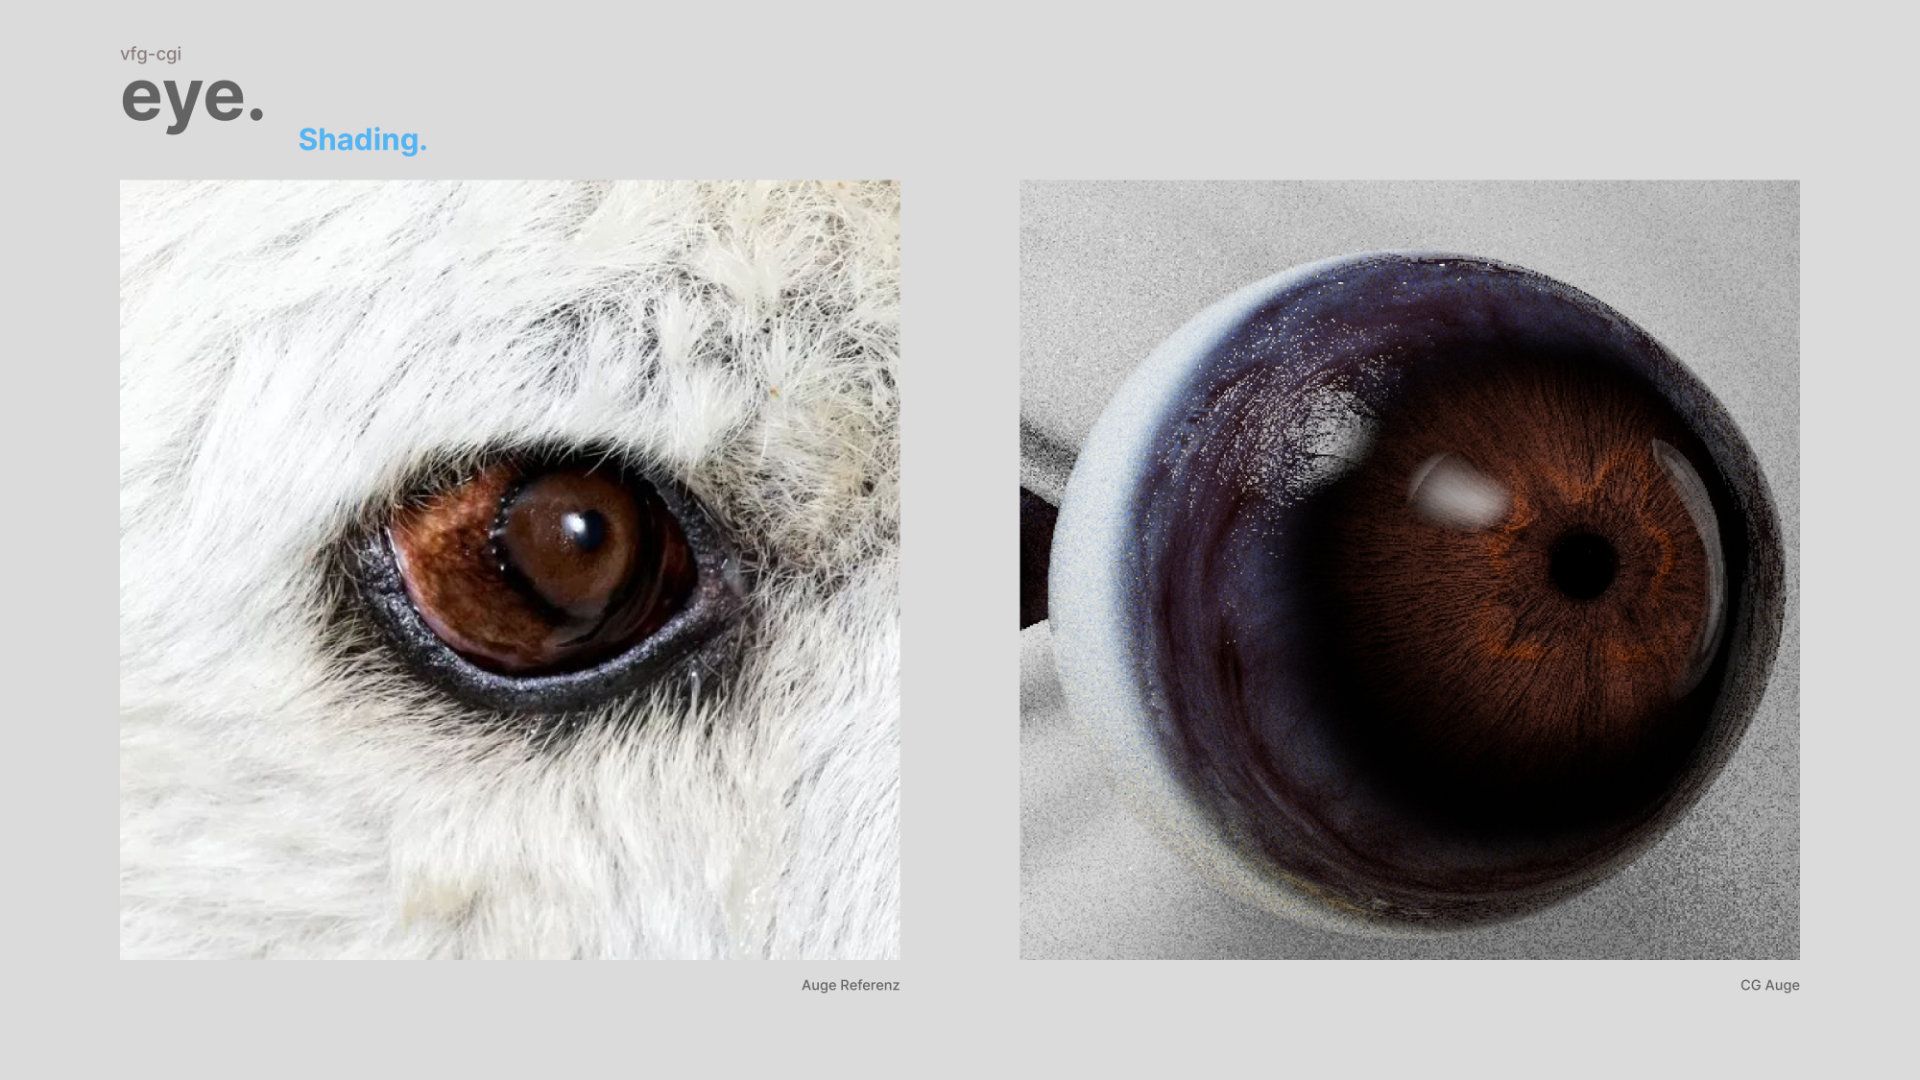
Do I have to handle everything alone? Your project aims to convey a message efficiently, not necessarily to create everything from scratch. Using affordable templates and assets can save time and enhance your work. For instance, we found a superb basemesh of a Grizzly Bear by Nicolas Morel, which we tweaked in ZBrush to resemble a polar bear. My friends and I collaborated on refining the bear: The first one focused on grooming in Houdini, while the second one worked on fine details like displacement in ZBrush and the eye shader in 3DSMax. This collective effort was crucial as the bear played a central role in all our scenes.
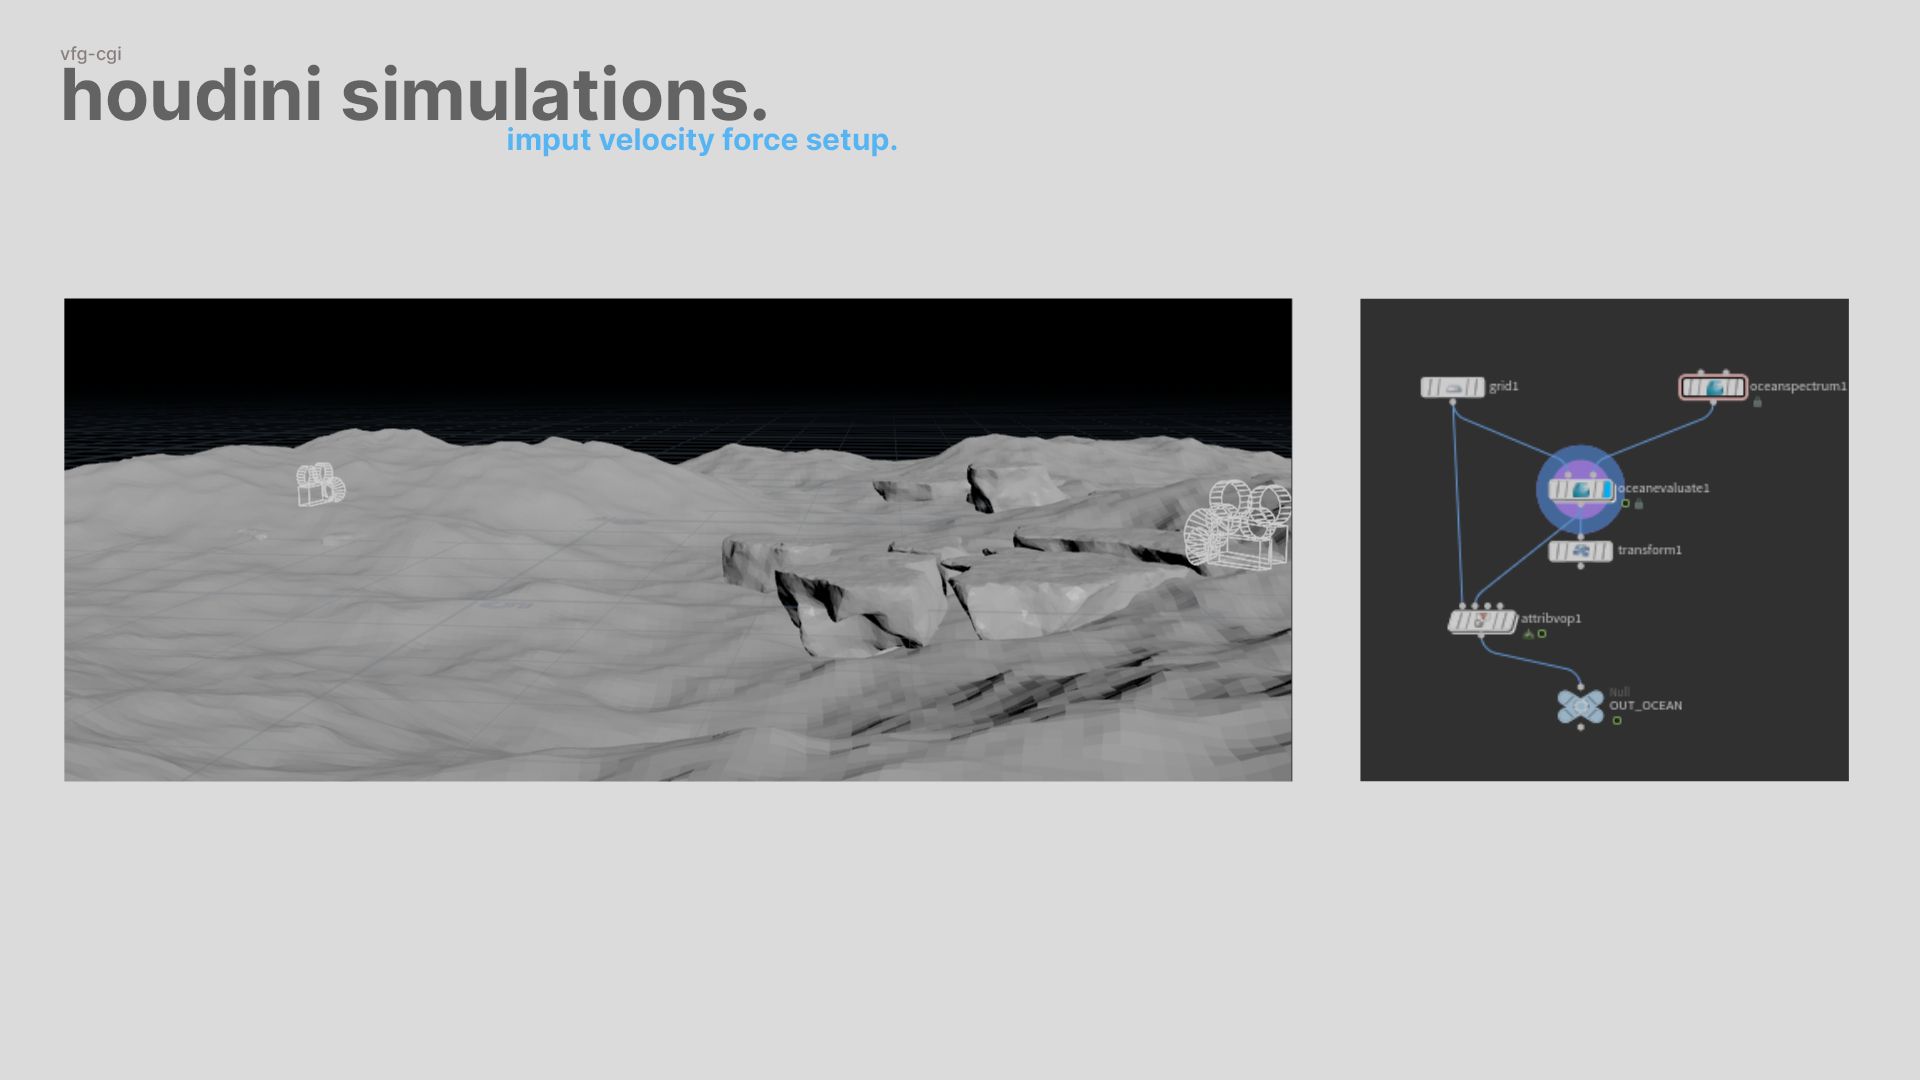
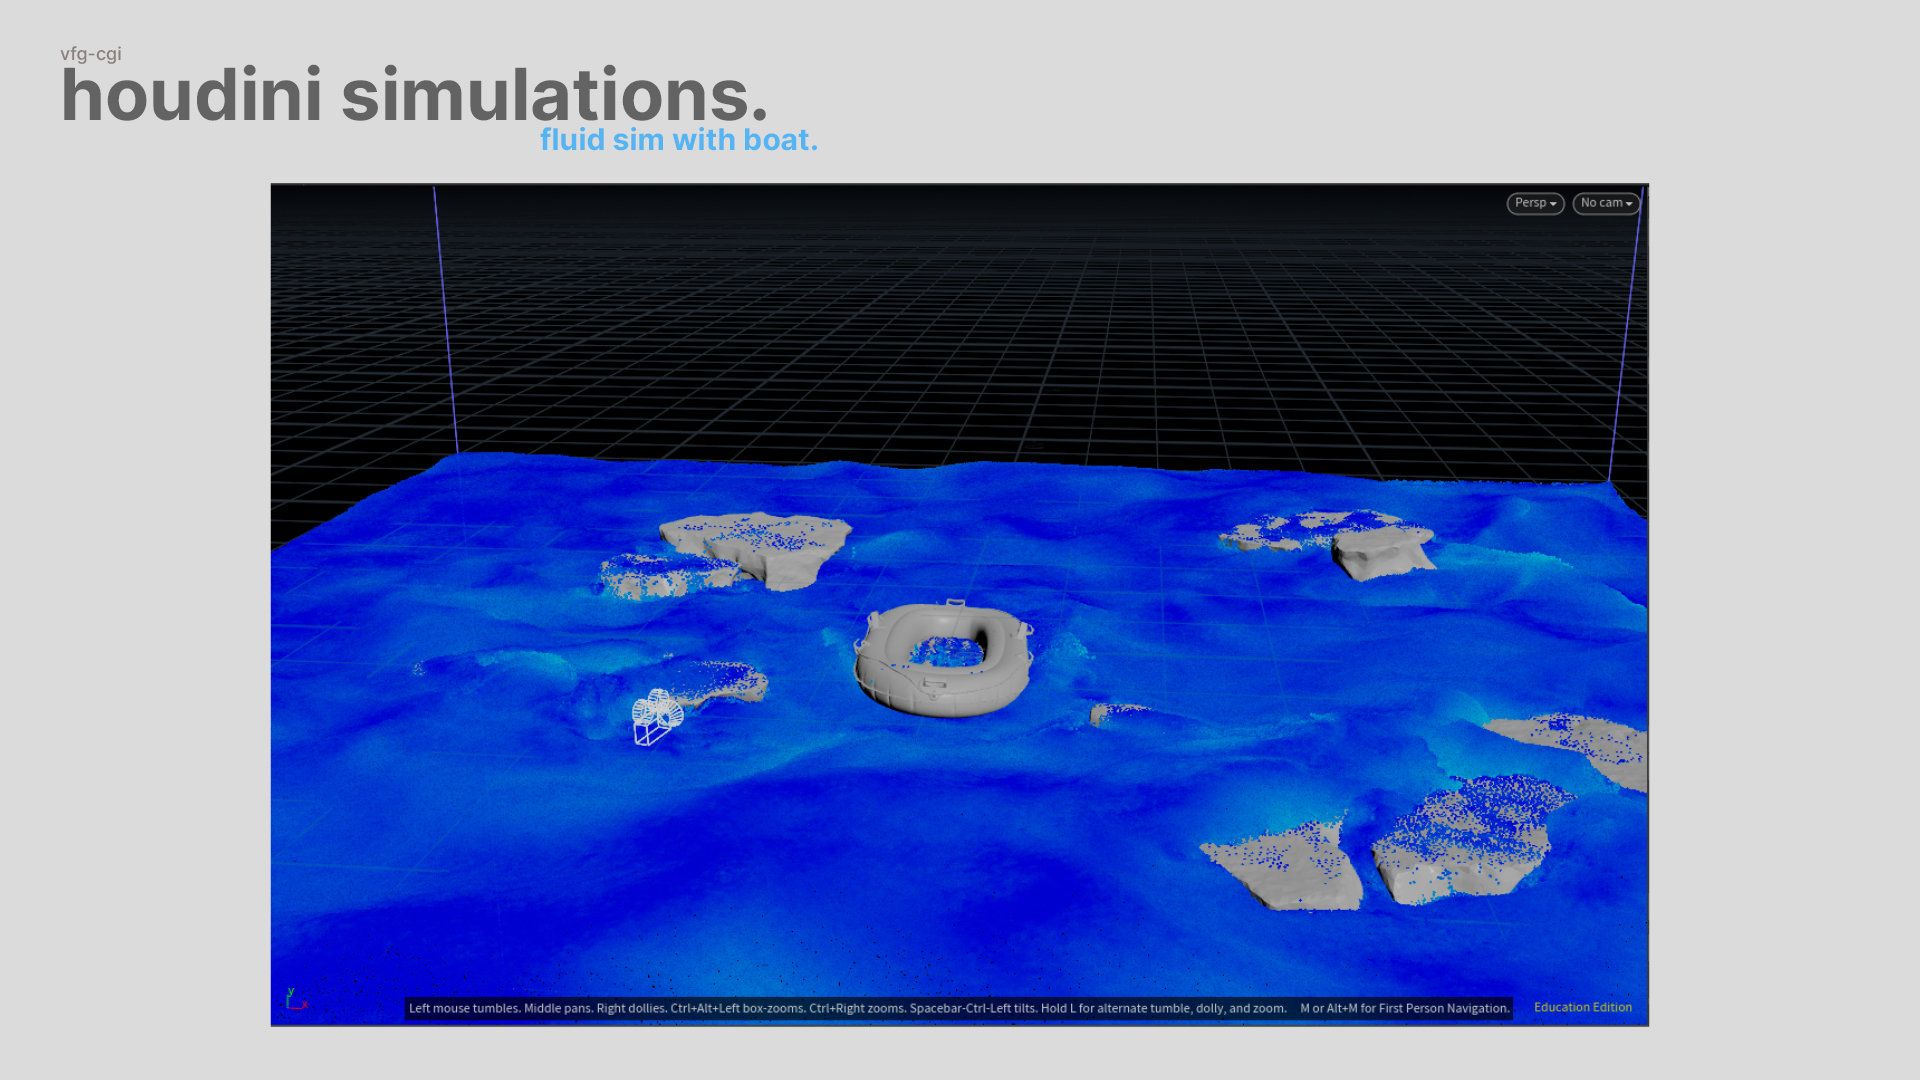
Now let's discuss my scene. Houdini offers excellent simulation capabilities, and I personally aim to enhance my skills in it. So, I opted to create everything within Houdini. But why simulations? Couldn't I just use a plane for the water and an ocean texture? What about efficiency? I chose simulations because it allows me to render the entire scene as an animation in the future. There's no shame in seeking help; we all start somewhere. As it was my first time working on water simulations in Houdini, I was glad to discover useful tutorials and tips on platforms like the Rebelway YouTube channel and the odforce forum.
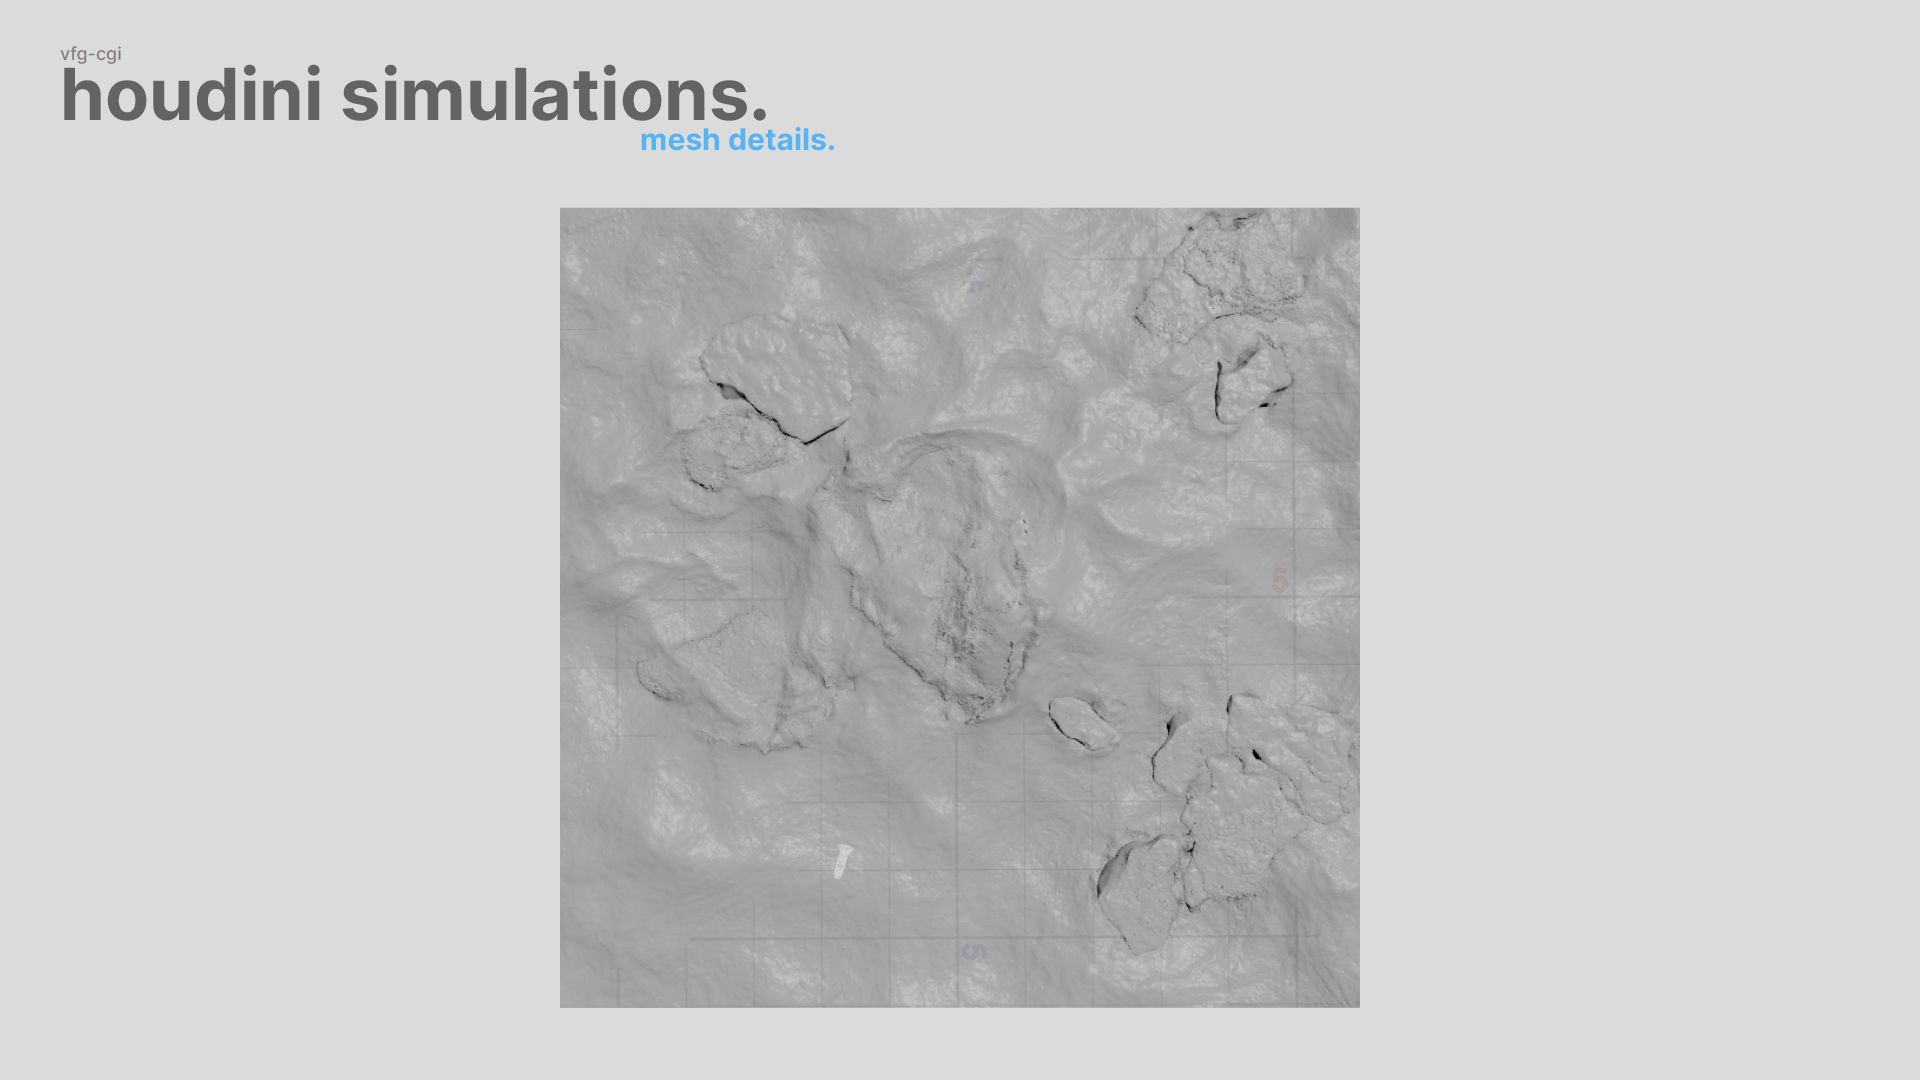
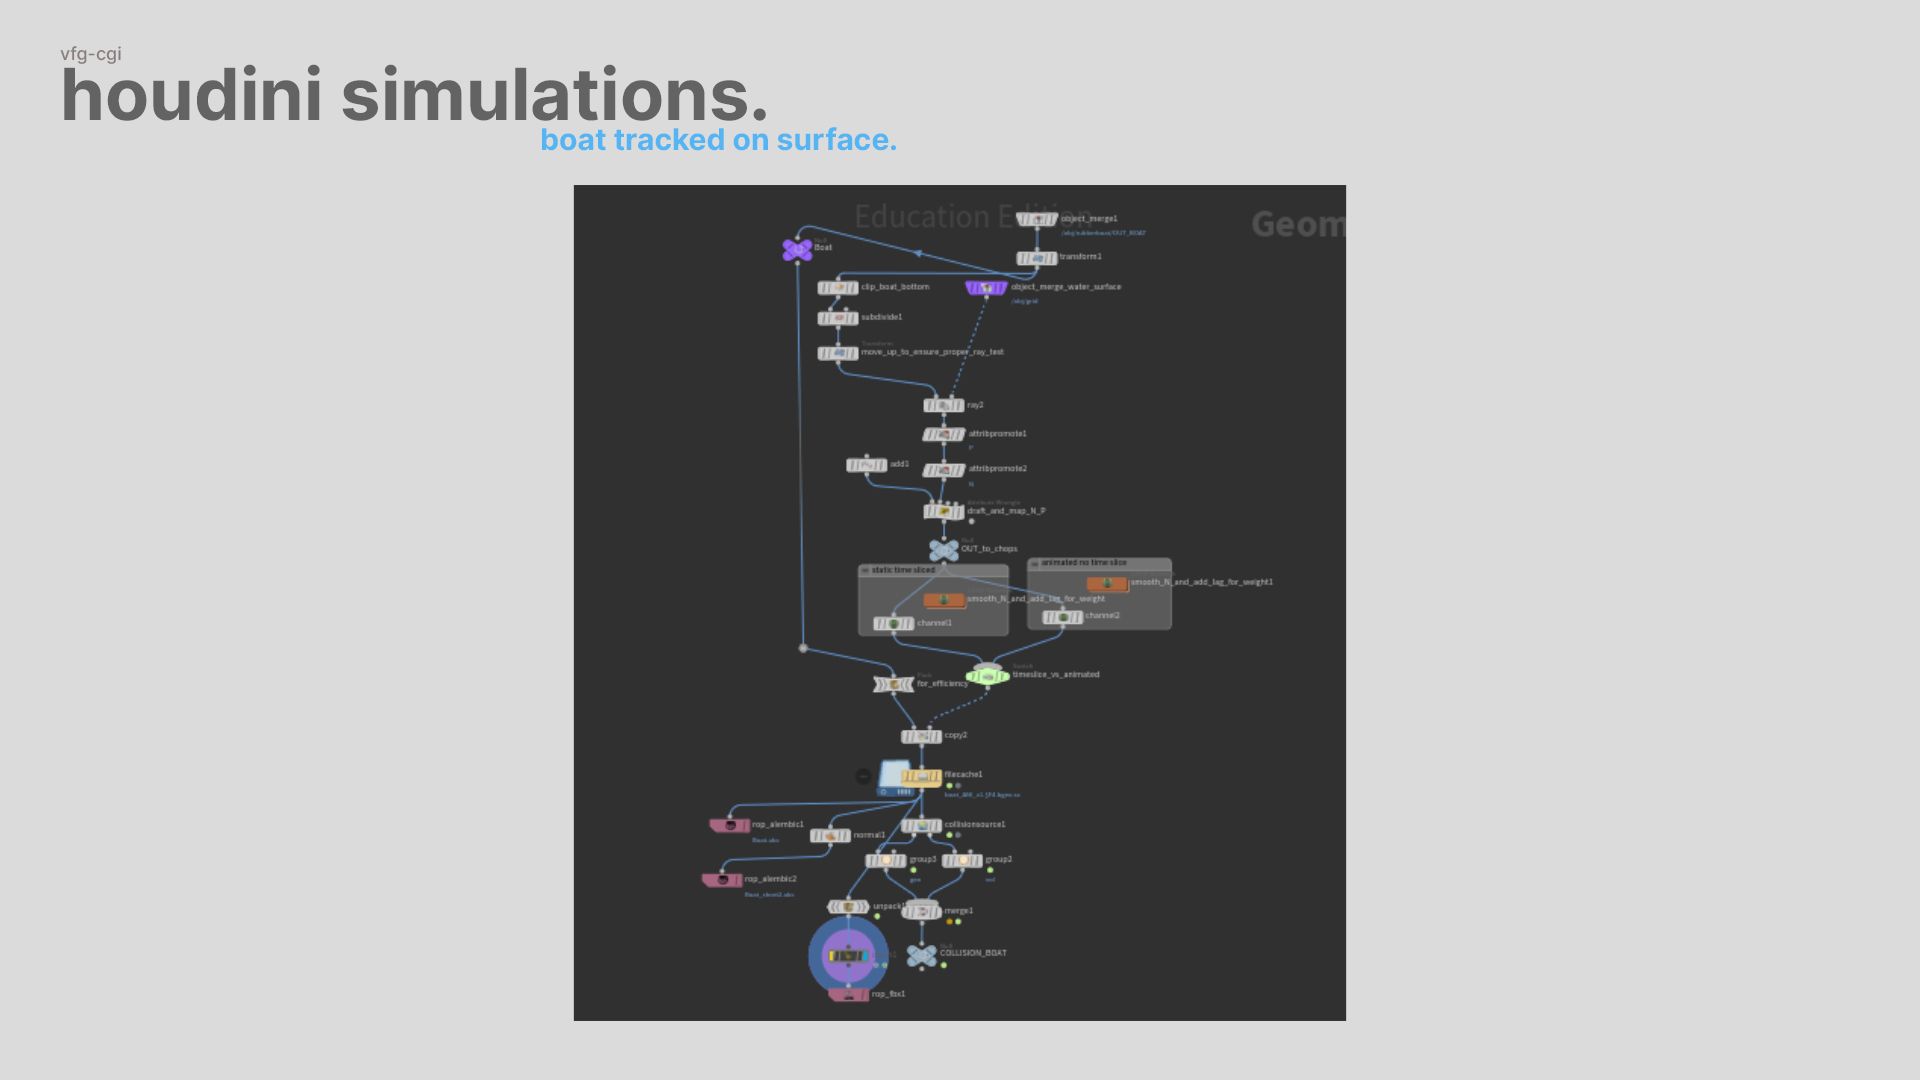
I encountered challenges while ensuring proper interaction between the boat and the water. Initially, I attempted to incorporate everything into a single simulation, but it didn't behave as desired. I eventually resolved this by first simulating the water, meshing it, tracking the boat on the water surface, and then simulating it again. While not the most elegant solution, it effectively addressed my needs.


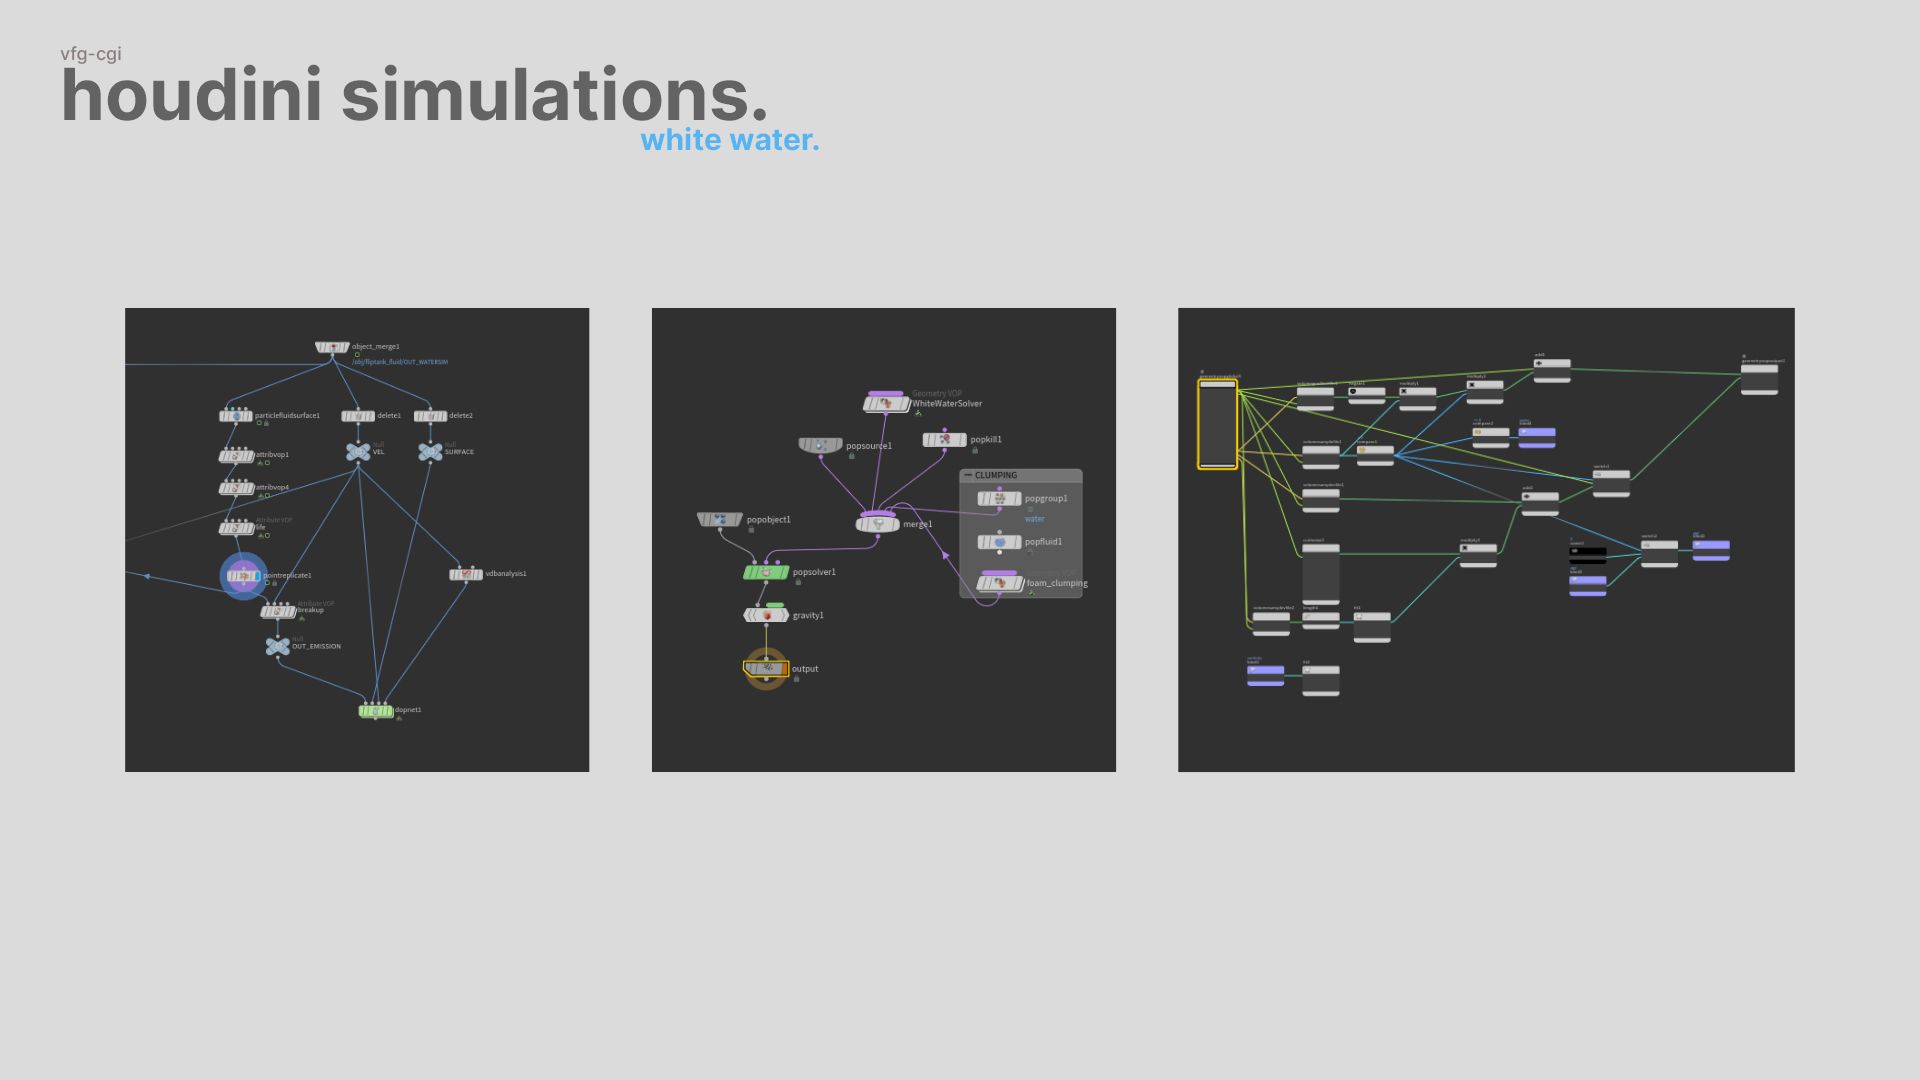
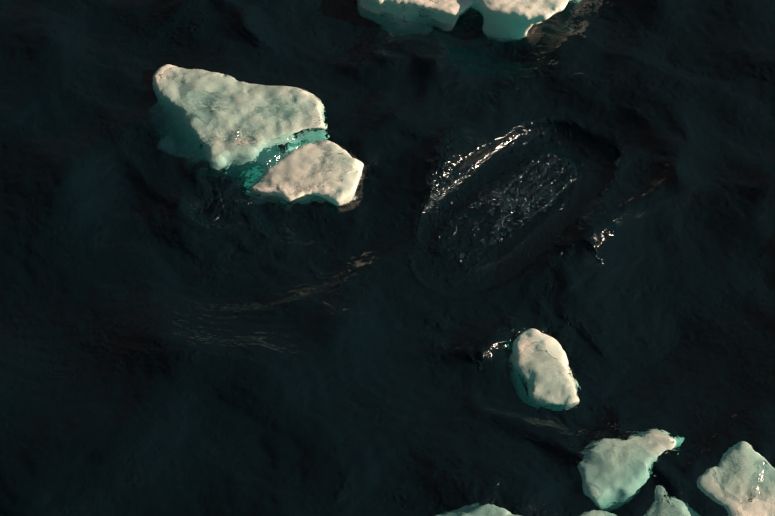
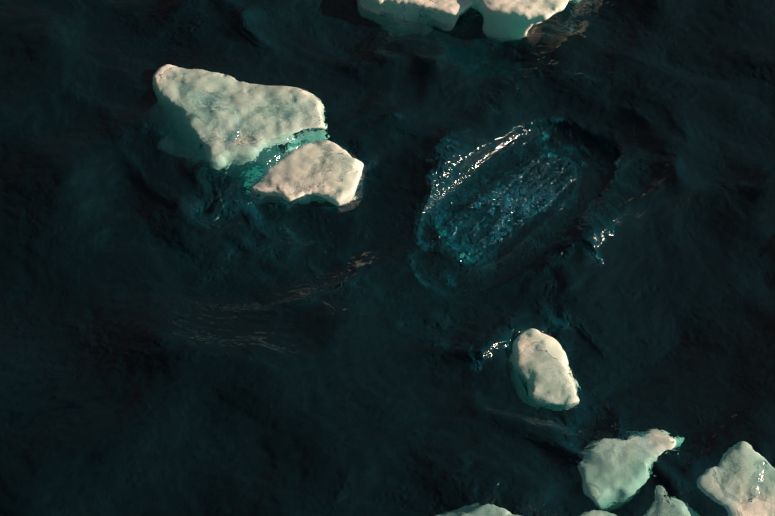
For the white water I built with the help of tutorials a custom solver that allowed me to better control and art direct it. I was able to control where it gets emitted, depending on wave height, wave speed and how much gets emitted.
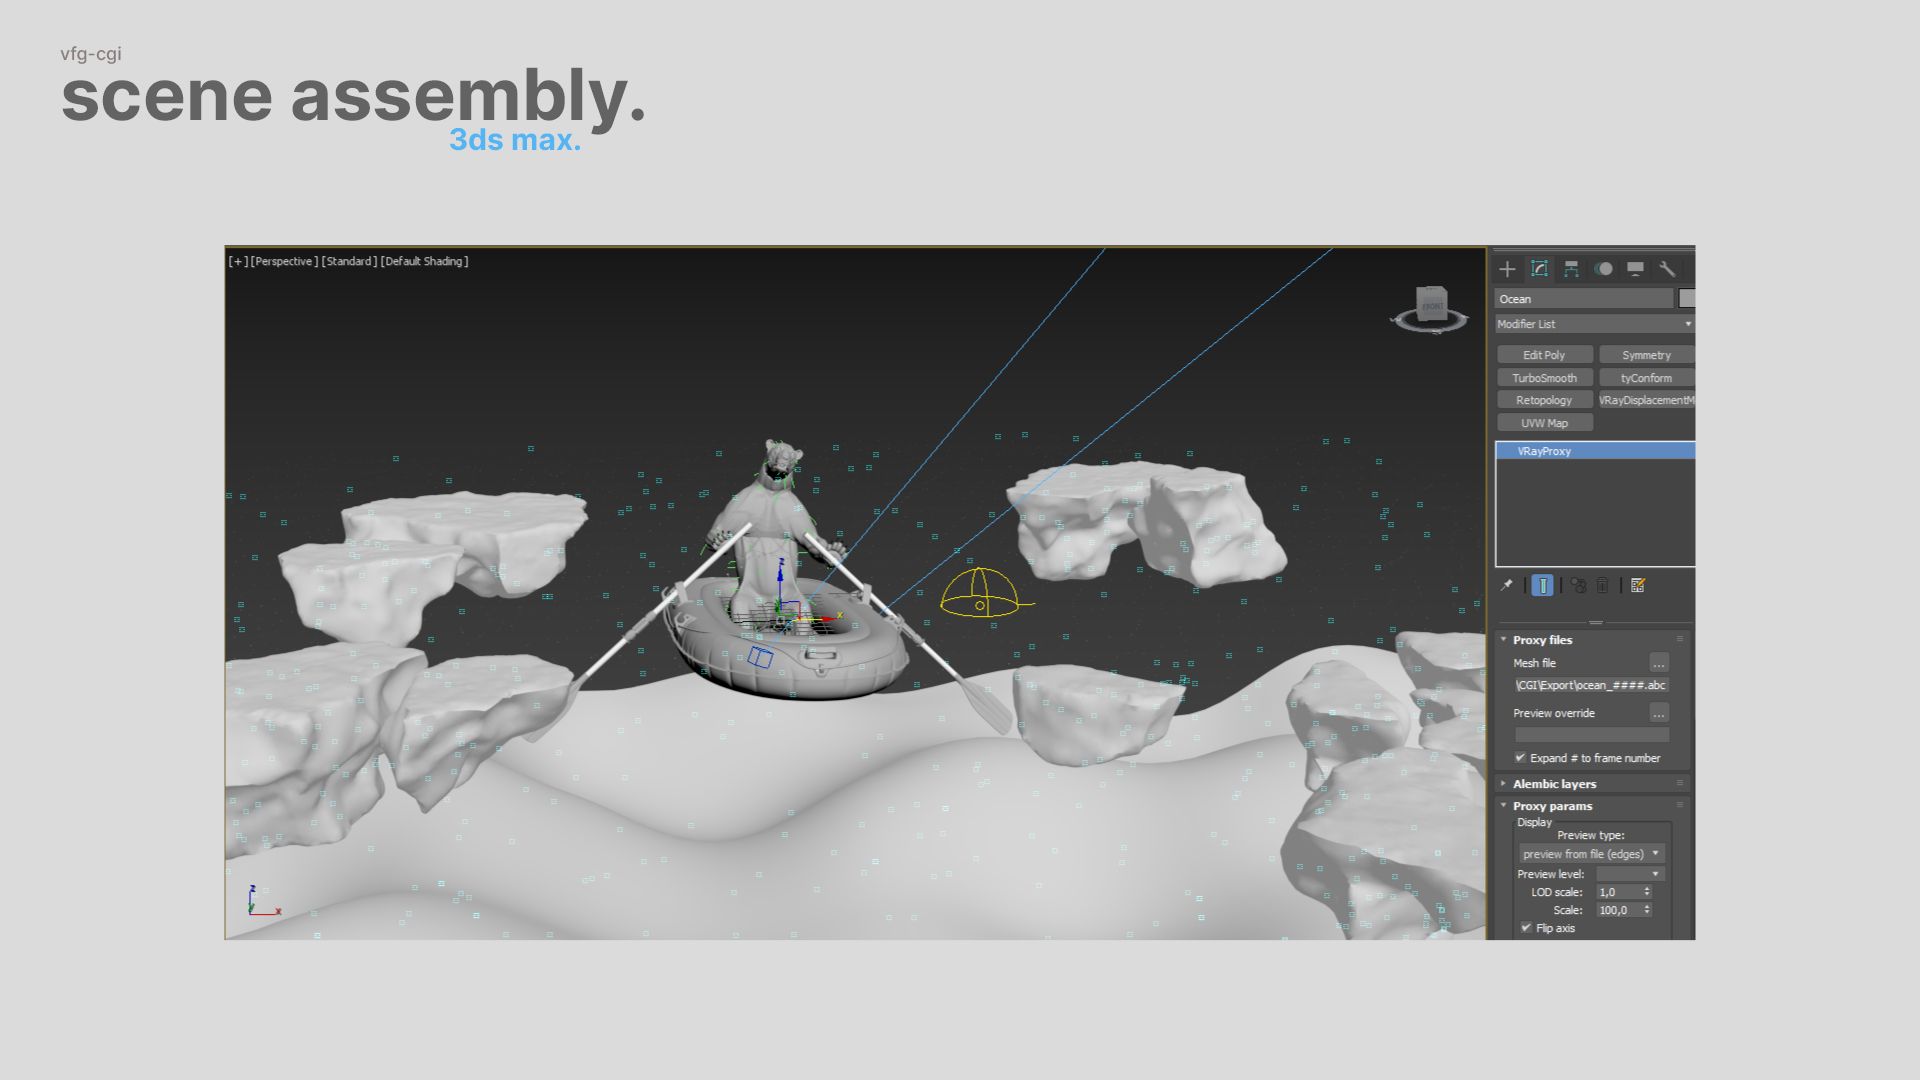
For rendering I exported everything out as an Alembic or VRay Proxy and set up the scene and lighting in 3DSMax.
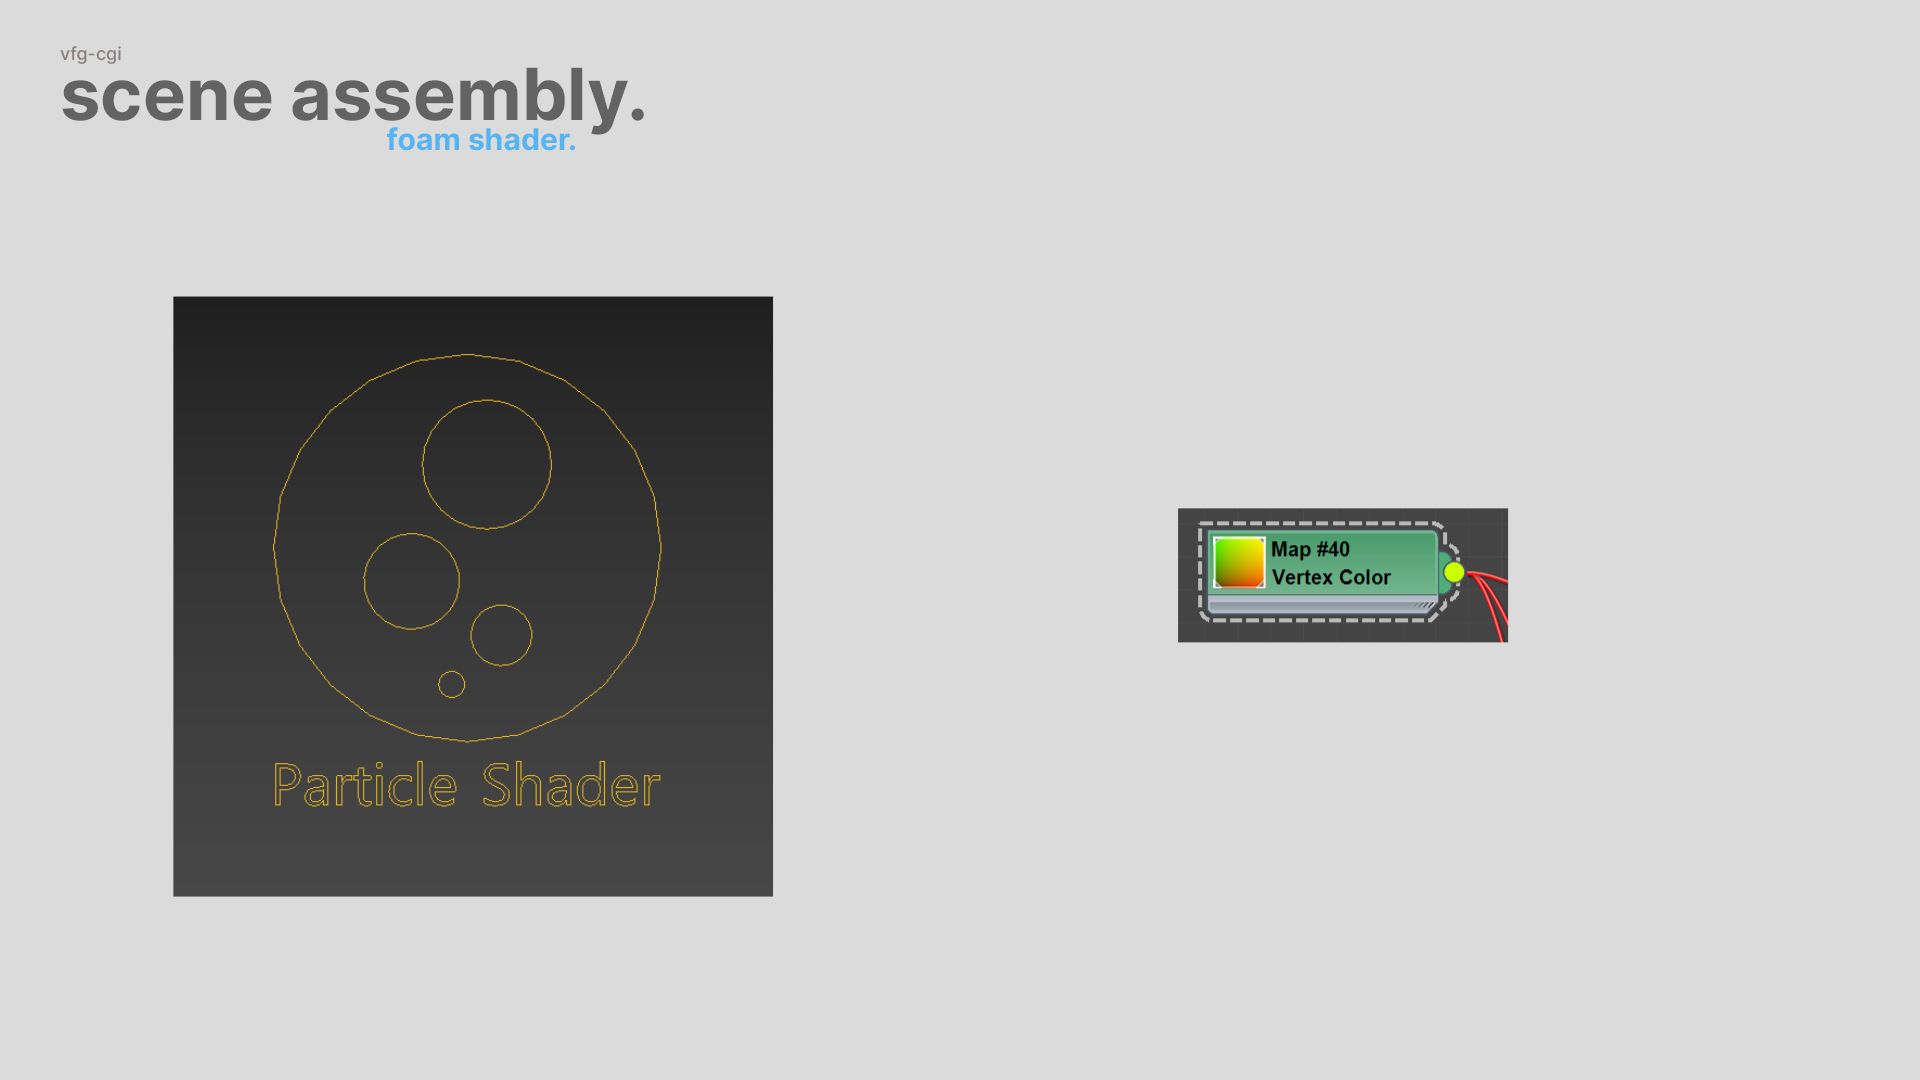
Chaos Phoenix Particle Shader was quite handy for rendering the white water. I used the bubbles setup, which rendered ages but had by far the best looking results. If you want to access the shading attributes you had in Houdini, you can find them with the Vertex Color texture. I used the vorticity attribute for my water shading.
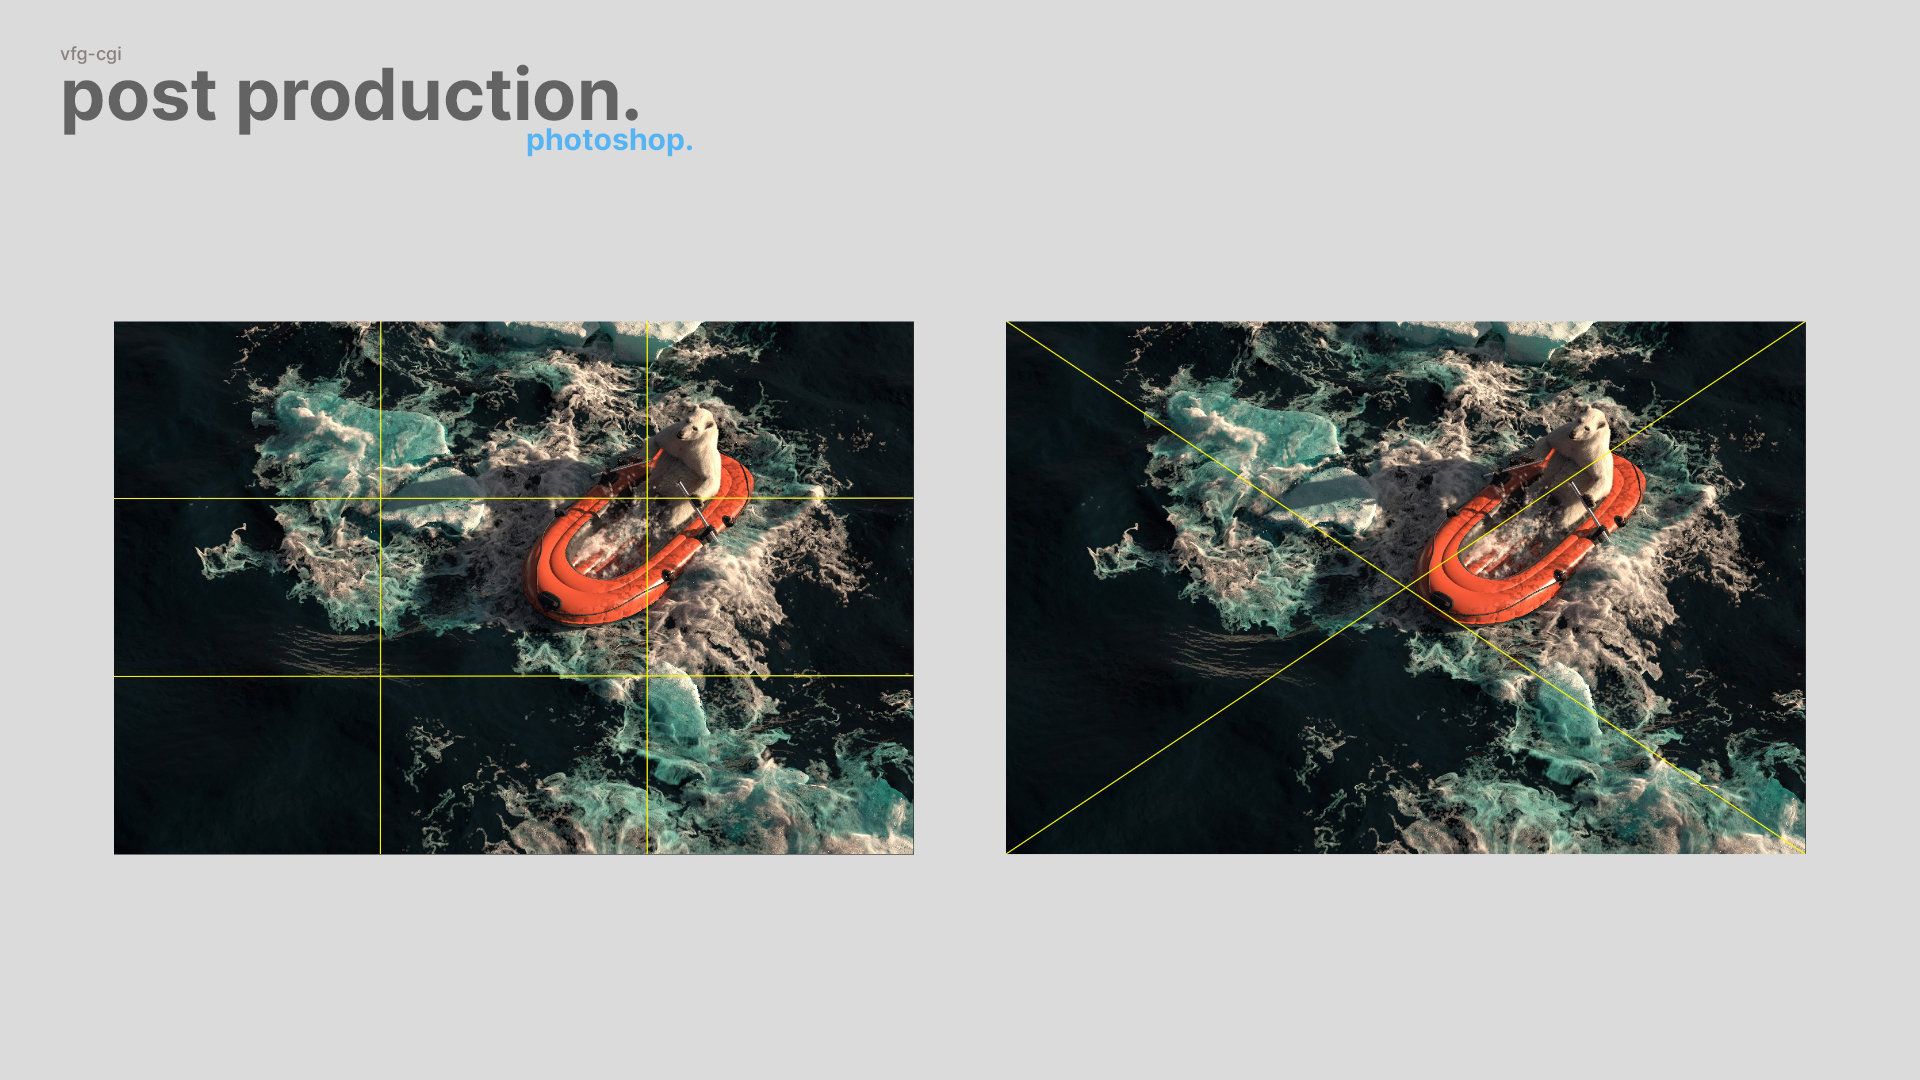
Always render out all essential render elements to retain flexibility for adjustments later. My compositing process was straightforward since I rendered only one image instead of a sequence. After opening Photoshop, I made color corrections and utilized the render elements to achieve the final look.
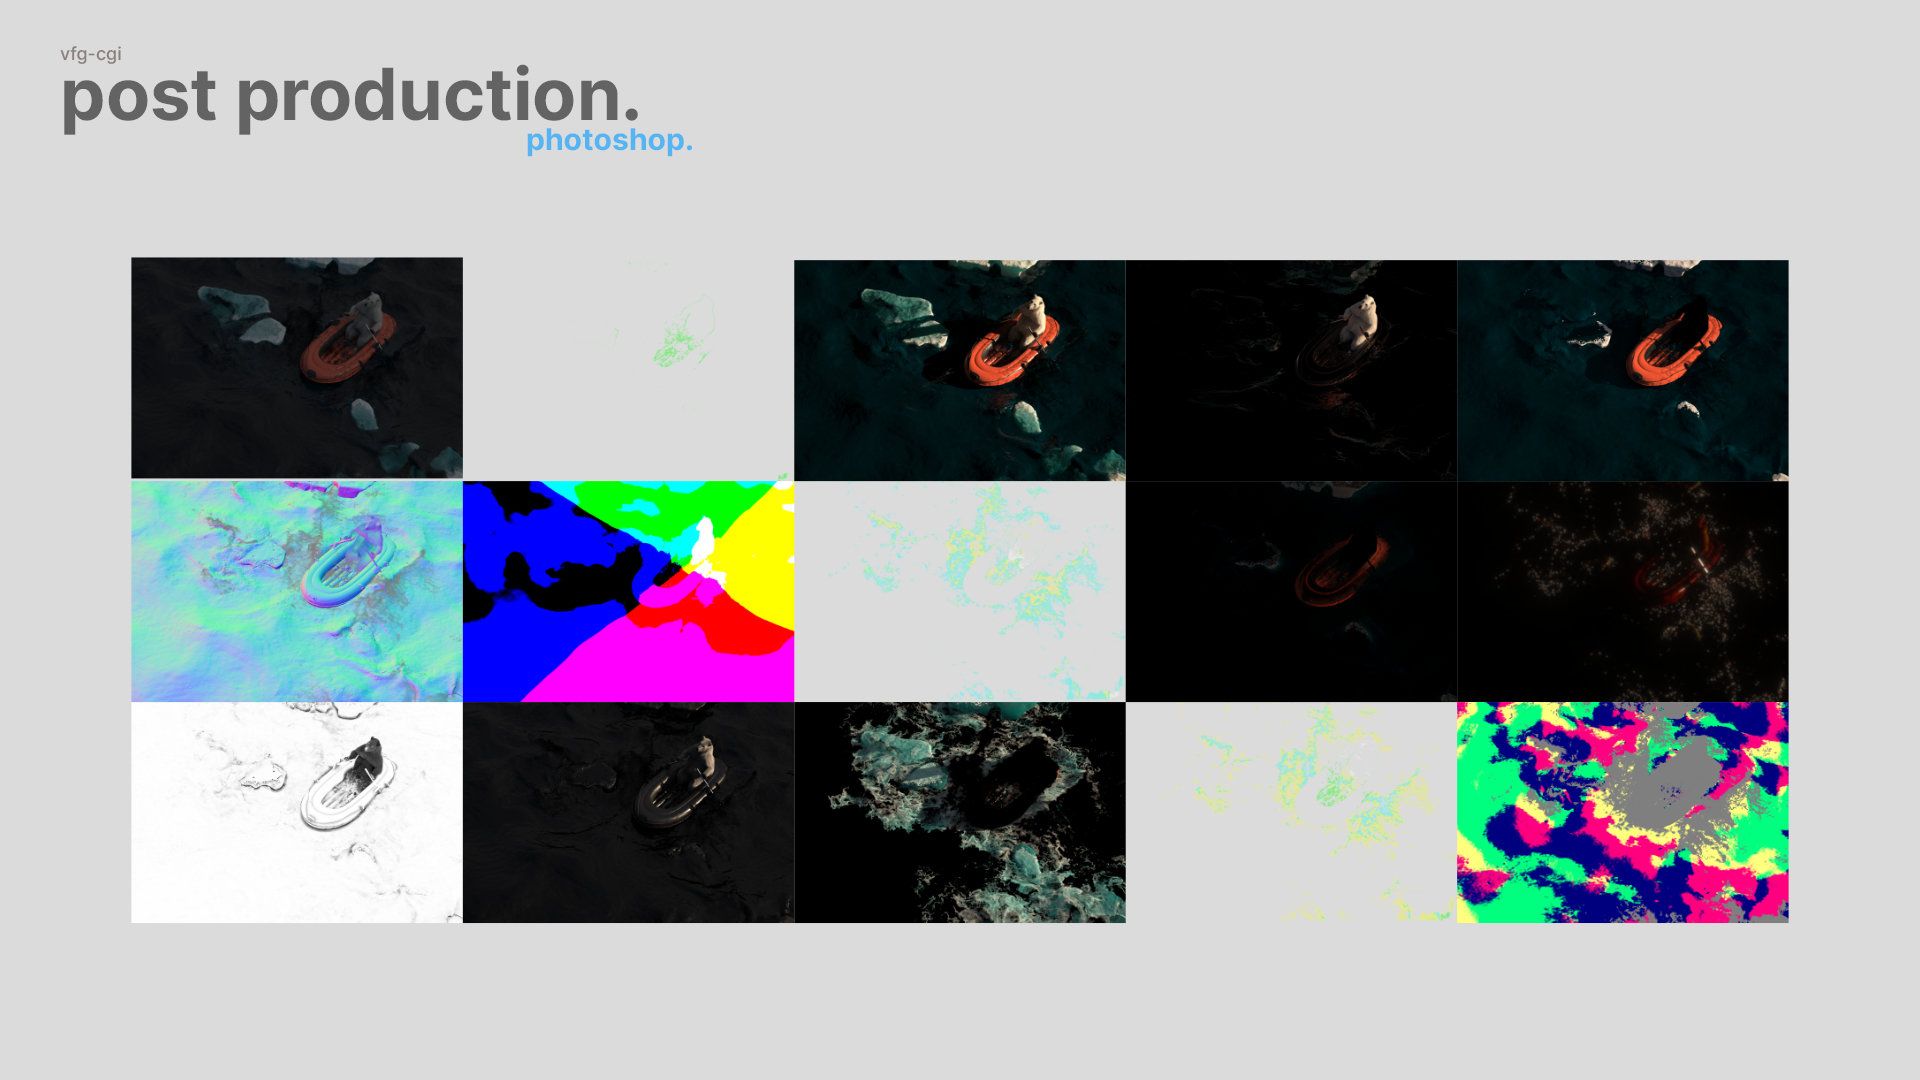
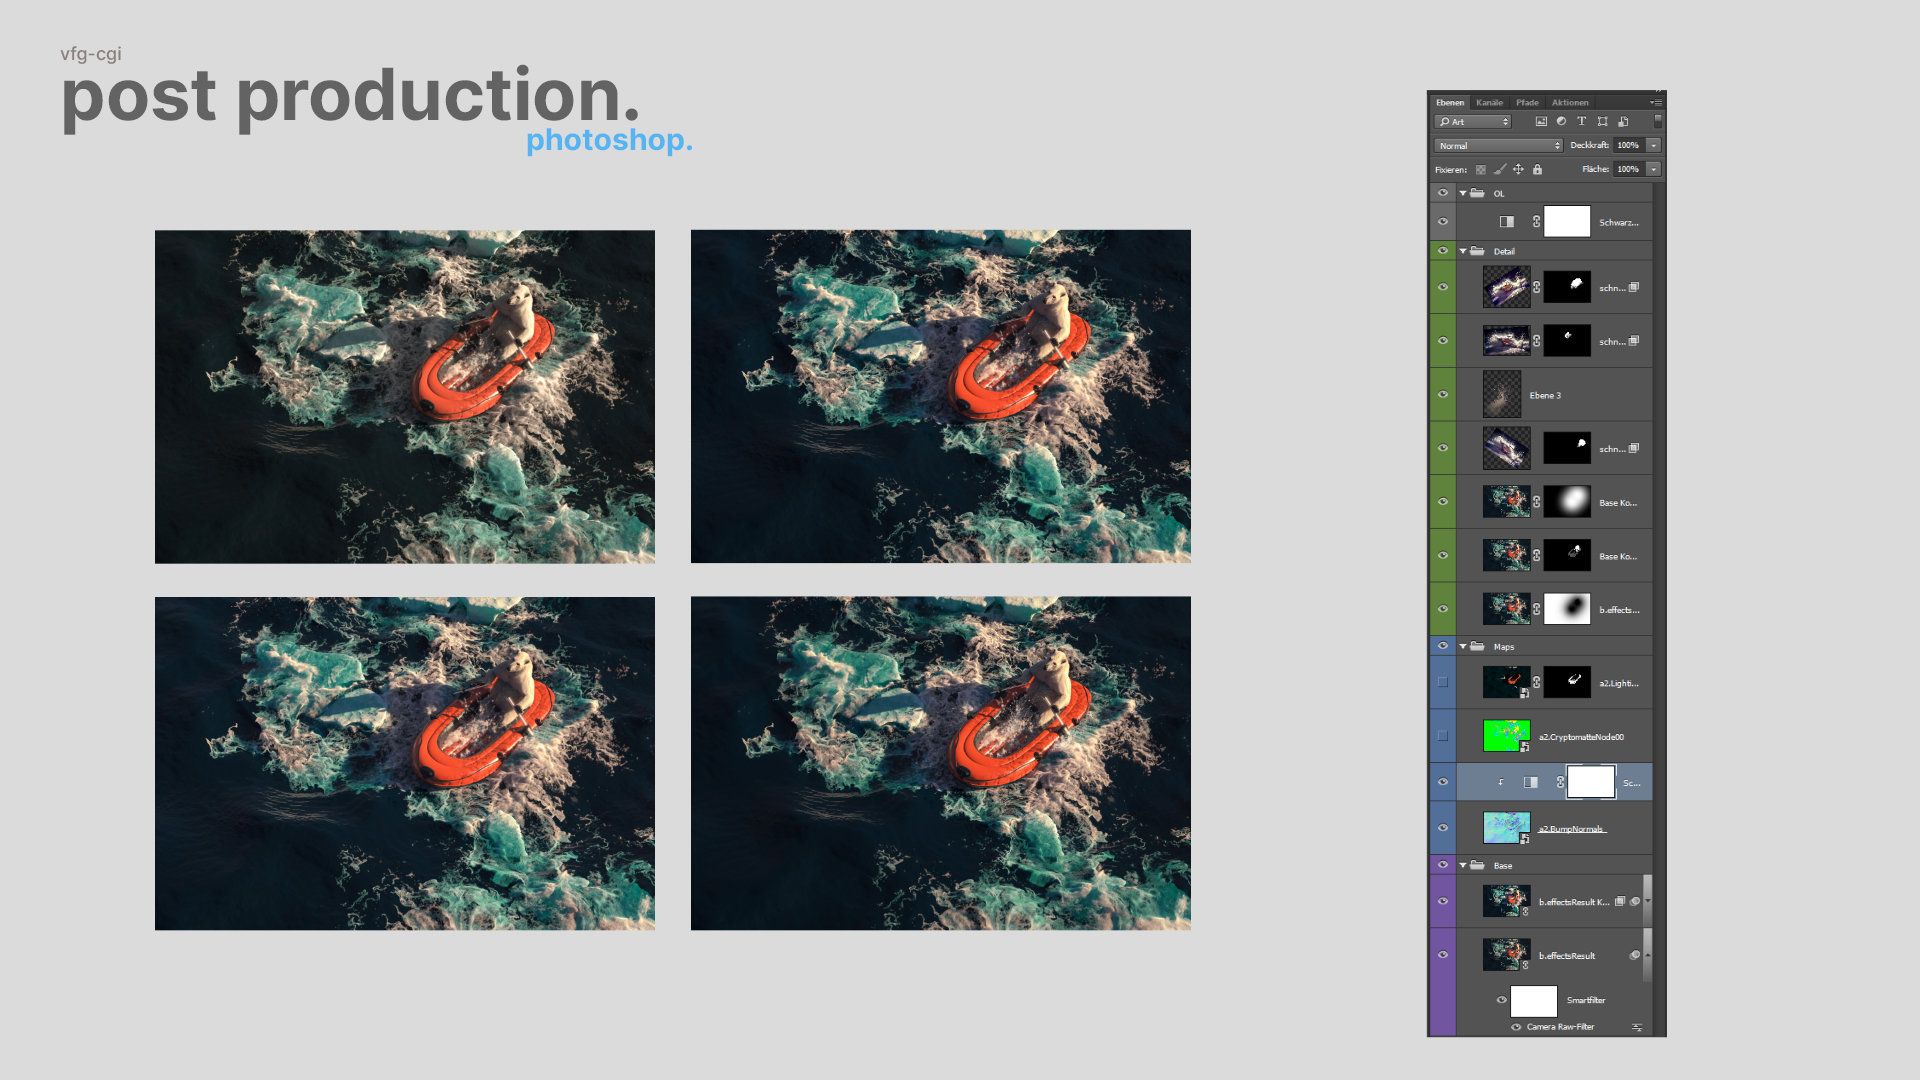
For instance, leveraging the normal map enabled me to perform relighting and incorporate additional reflections in the waves.


I learned quite a lot, especially problem solving is a never ending process, and I'm happy to continue to dive deeper into Houdini and all its facets. I hope this article inspires you to create something out of the box.
Special thanks to Jeremias Guckert and Leonard Bäcker.
Check out more of Fabio's work in his Rookies portfolio here.