From 2D to 3D: Choosing Concept Art and Elevating Your Artistic Skills
Mateo Gretter is a first-year Game Artist student at PlaygroundSquad in Sweden. He's learning 3D modeling. His work involves turning 2D concept art into 3D models for game engines. This is both his study and his passion.
Mateo Gretter is in his first year as a Game Artist student at PlaygroundSquad (Sweden). He is learning 3D modeling. Translating 2D concept art into 3D models ready to work in game engines is both what he studies and what he loves to do.
In this article he explains his steps in the making of his last project, The Werebat, which he made in 1 month. The aim of this project was to challenge himself and test all that he has learned from previous studies.
Choosing the right concept art and pre-process
I'm an art student. I'm always studying to improve my understanding of my craft and my skills. I also study to find what I enjoy the most and to discover what I would love to do in my “dream job”. In my first months as a PSQ student I discovered that I have a blast when it comes to modeling or sculpting, texturing, and rendering. For this project I wanted to choose a concept art that would challenge me especially in these aspects.
Choosing the right concept art to work from, is the most important part for an 3D artist that wants to improve and discover themselves in their craft.
I carefully spend a lot of time looking for different options and selecting them.
The steps that I take in order to choose a concept art for a big project are as follows:
Challenge level: The project has to be challenging enough that you have to put all of your efforts and a bit more to succeed, but it can be too much and make you crumble over the weight of stress.
Type of Skills: It has to be a concept art that lets you test the skills that you want to improve, in this example it was modeling, dculpting, texturing and rendering among others.
Love: It has to be something that you are passionate about, something that you would love working for hours and that you genuinely want to see in 3D.
Size: Acknowledge the time period that you have to do it, and the time that the concept art needs to be executed properly.
Under-Scope and Over-Deliver. This is just my motto, it is always good to remember.
“The Werebat”, by Justin Gerard ticked all of the marks, especially the love one!
The big challenges were in fact:
Texturing and Rendering: Justin Gerard's complex and beautiful way of texturing and rendering materials required meticulous hand painting. This was achieved by carefully studying and replicating Gerard's strokes and brushwork.
Character Anatomy and Posing: The intricate anatomy and dynamic posing of the character posed a difficult yet rewarding test. It demanded a great deal of imagination to understand the proportions and convert them into a 3D sculpture. Hidden parts were modeled based on a thorough understanding of the visible ones.
Optimizing Fur for a Game Engine: Creating the fur for the werebat to be optimal for a game engine was challenging. Various methods were tried, but ultimately, hair cards were used. These were hand-painted to match the original style, and vertex coloring was applied to add variation.
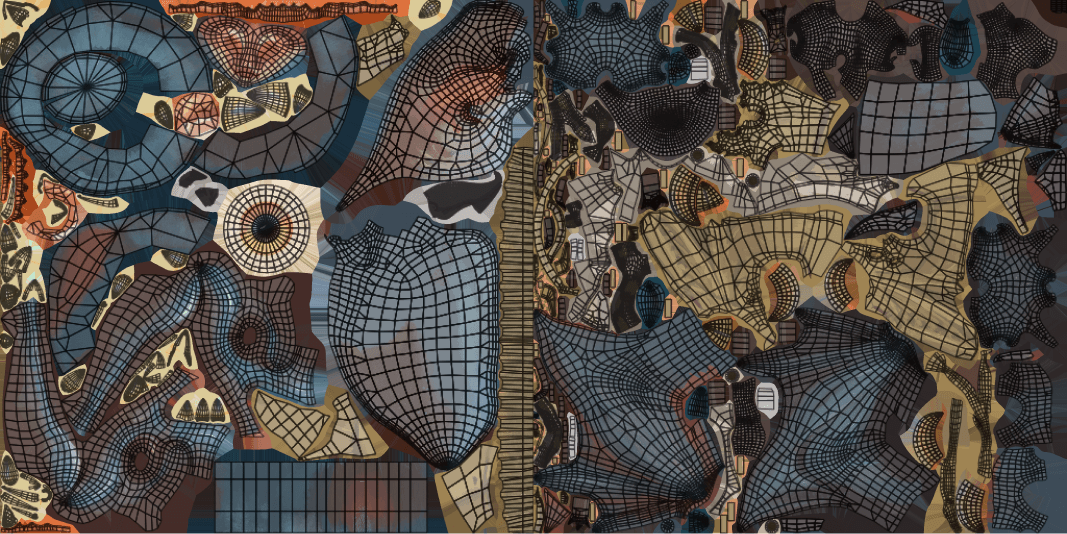
After Sculpting the high poly model in ZBrush, I did a retopology using Maya's Quad draw, and a lot of patience. When I had a model low in polygons to work with, I UV Unwrapped it using Blender.
I mirrored a lot of UV shells to save space in the textures.
These were the parts that I mirrored: the side teeth, the ears, the hand and foot claws, the jacket buttons, the pants, the legs, the bandages, and most of the belt.
I also made some UV shells very big where I needed detail. But, I made the shells small in parts that are hard to see.
These parts were made tinier: the back part of the wings, the back part of the pants, the belly etc.
For the jacket, shirt, belt, and feet claws, and of course the hairs, despite being visible from behind, they don't have backfaces to save space.
UV mapping on Textures.
Even with all this savings, I did use 2 texture sets of 2k each. After all, the most important thing is the quality.
Now, lets jump into handpainting, where I had most fun!
Model with only Base colors
Hand Painting
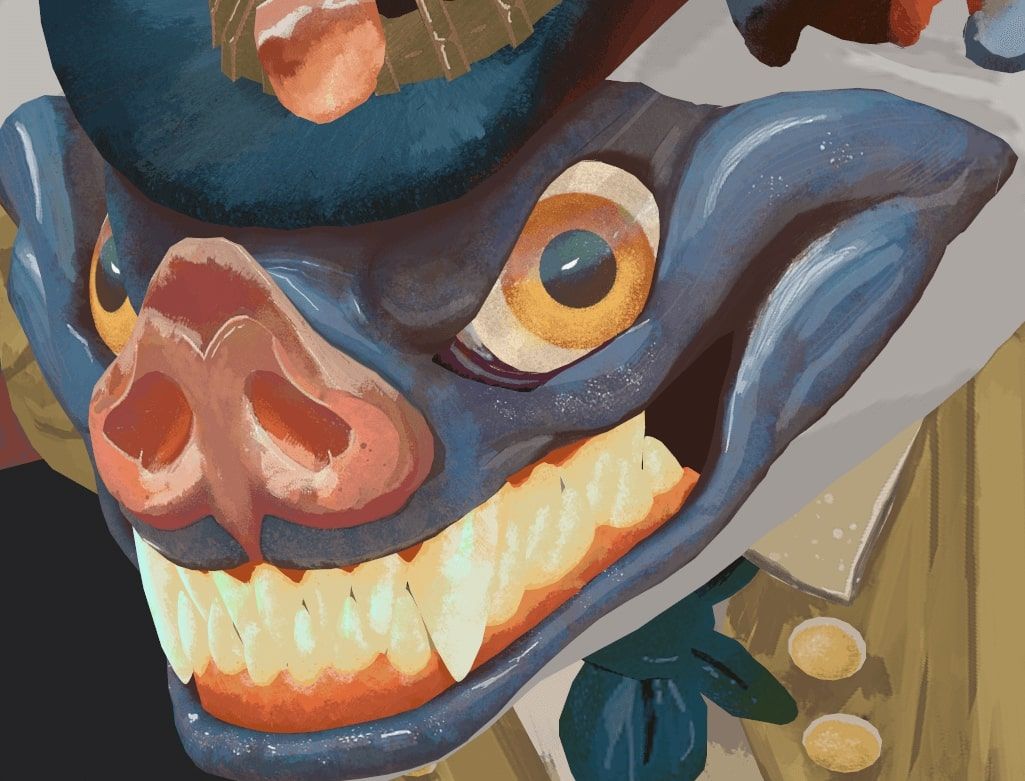
Substance 3D Painter has many tools to get a hand-painted feeling. They use generators and masks. But, to truly recreate Justin's style, I find it better to paint by hand. I use layers and blending modes like Linear dodge, darken, lighten, multiply, and overlay. It lets me capture the same strokes, colours, shadows, and light. I would like to give special thanks to Evelina Hermodsson for her helpful advice during this process. I studied Justin’s strokes and colour to try to match it as best as possible.
Head and Ear hand painting.
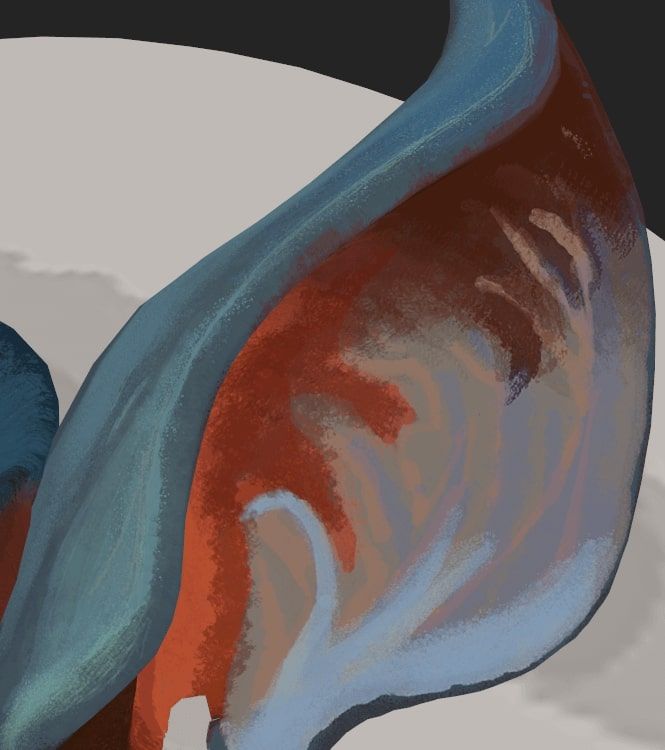
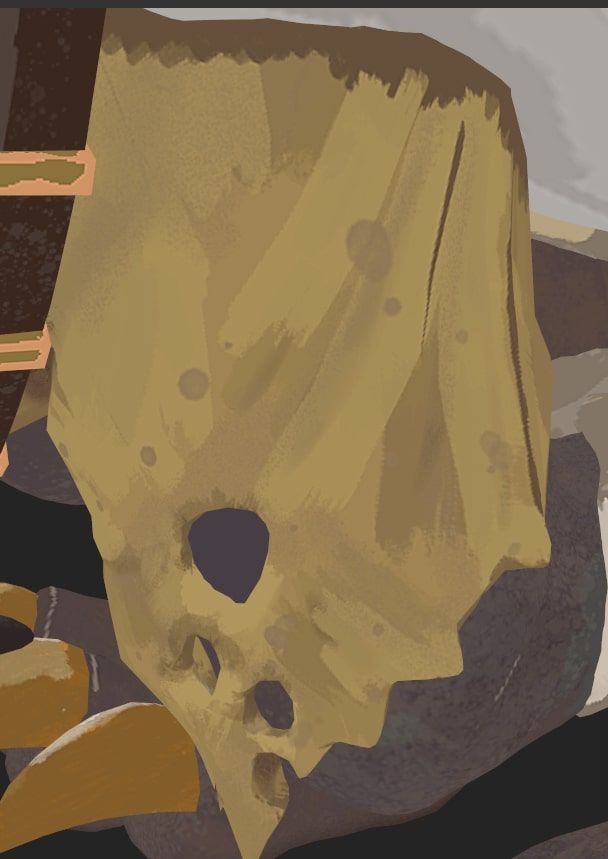
Left wing and pants
At this stage, I also put the textured model in the Rendering engine (Marmoset Toolbag 4). This way I can paint and see its final look at the same time. It lets me make needed adjustments.
The setup was simple. Since the goal was to replicate the concept art as close as possible, all I needed was one front light, the background colour, a black and white HDRI, and fog.
These elements gave me even bounces of light and smooth shadows
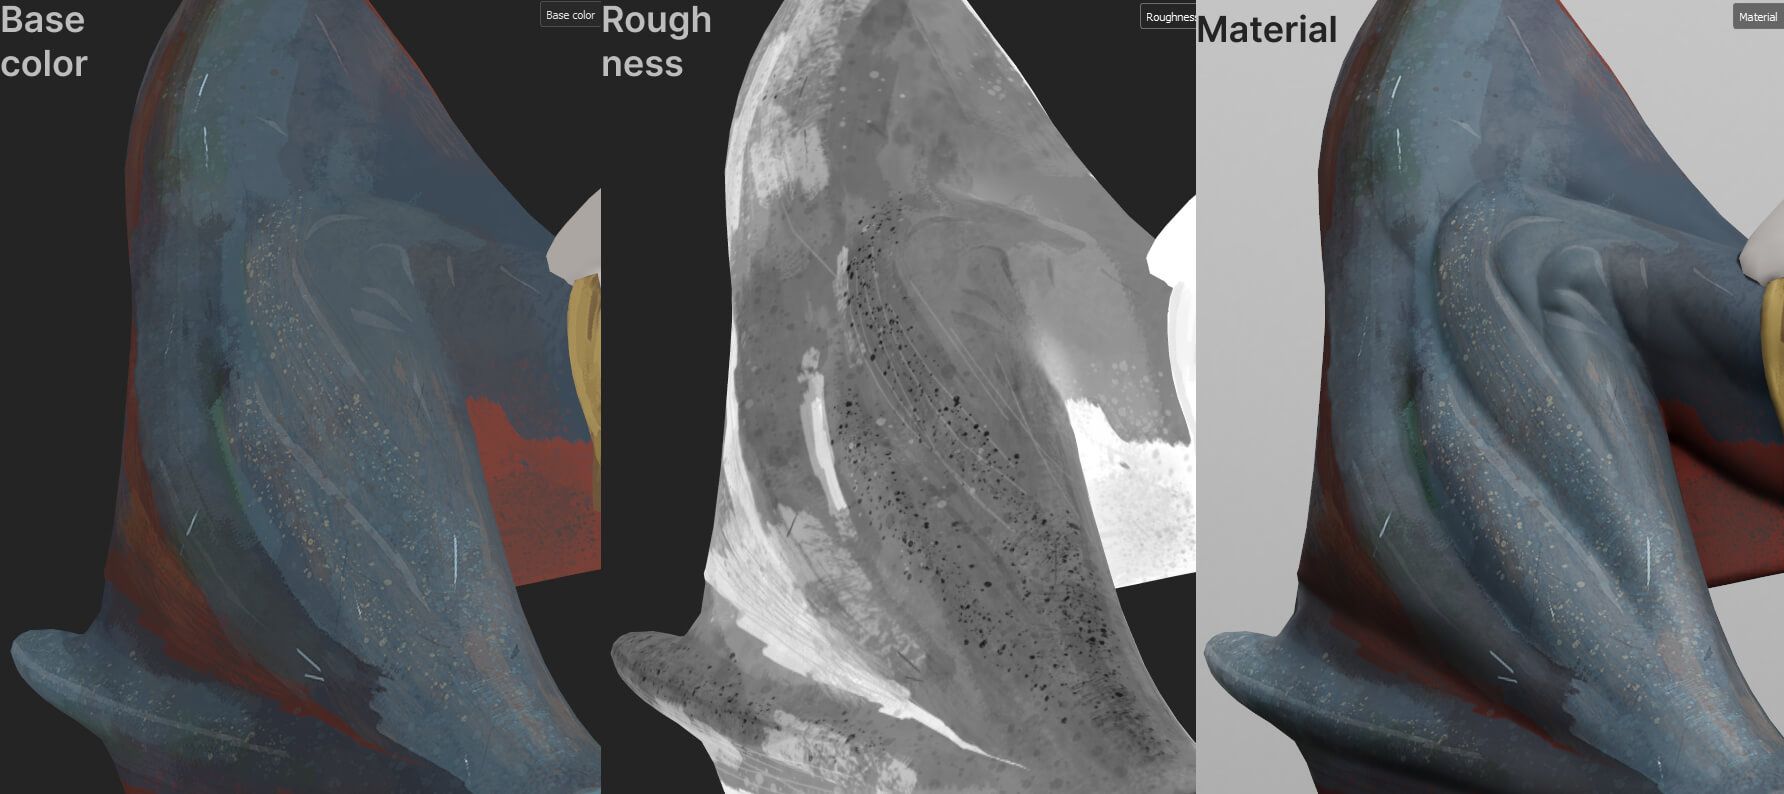
Using Handpainting for Roughness Variation
Hand painting with masks lets me change roughness values in a non destructive way, and that allows me to get a very interesting variation in the way the light bounces.
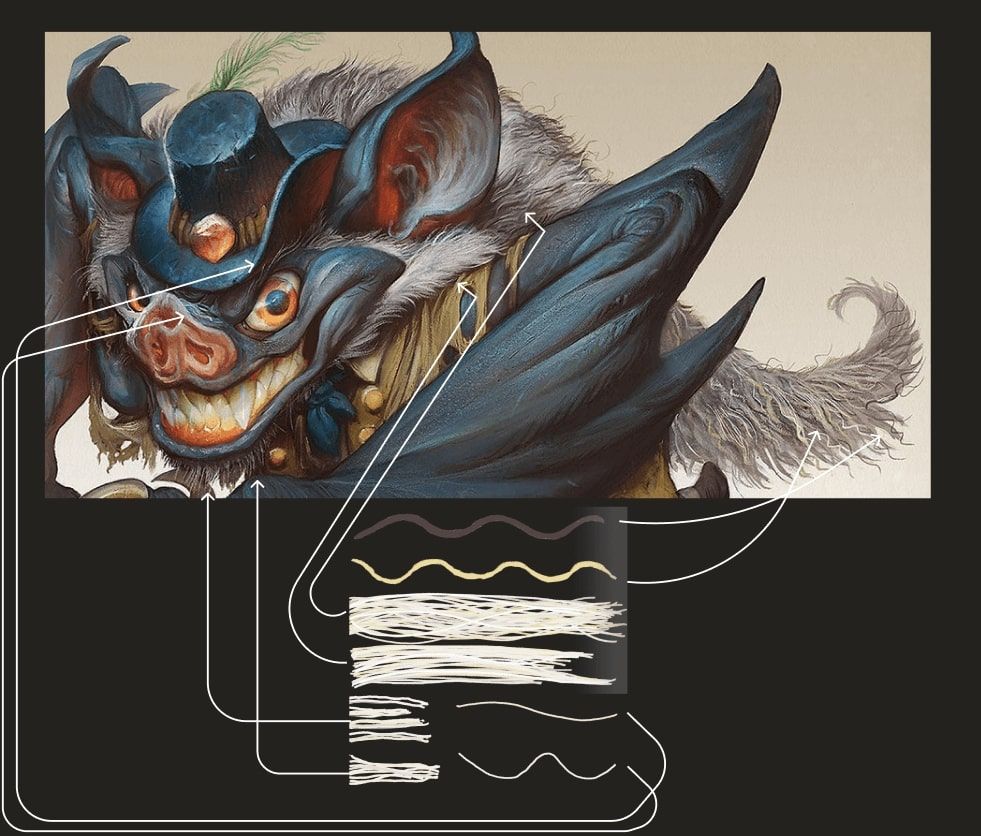
Hair Cards
For the fur, I used hair cards. They are 2D planes stacked on top of each other. They also use alpha channels so they can have transparency. This creates a lot of detail with very little geometry. It's a very cheap way to render hair in games, as it takes way less memory than having each hair stroke be its own mesh.
First, I identified which types of hair I needed for the job. Then, I drew them with some slight color variation, in a 1k image.
Alpha Texture and Color Texture
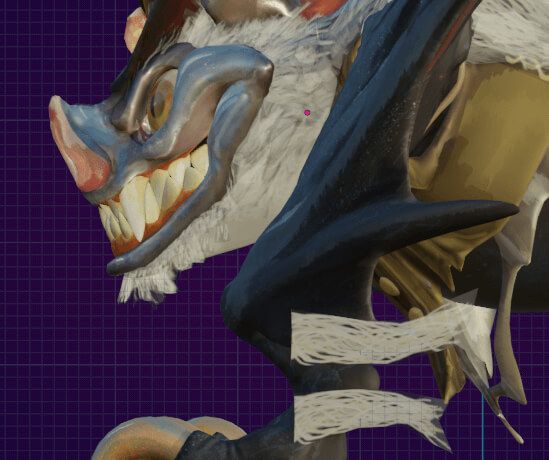
After that, I jumped in Blender again. I created a palette of hair planes. They had UV maps with the different hair types that I drew. Then I place them by hand in the model closely looking at the concept art, to match it.
The final step is to vertex paint the mesh to get colour variation without using more texture images.
Vertex paint on the hair cards
For the feather, I painted it and then divided it 2 times, to save as much space as possible.
I used a 524 texture. In order for me to use this texture I just need to UV map a plane like the image shows and that's it! Just like the old games do it!
Base color and alpha channelUV Unwrapping
We need these "space-saving practices" less as technology advances. But, I do them because I always want to work clean and, above all, efficiently. I also love to find creative solutions to problems like this!
Finally, I like to thank you for reading this! If you have any questions please contact me via my Rookies profile here, where you can also find more renders of my project.